Today we are shipping the biggest update to Gamelabs Studio since launch: Map Projects and the Map Editor. This is a full map-building pipeline, from creating a new map project, to painting tiles on a canvas, to exporting production-ready tilesets, map data, and rendered images. Whether you are building a side-scrolling platformer, a top-down RPG, or an isometric tactics game, the entire workflow now lives inside Studio.
In this post we walk through everything that shipped in version 2.0, how each feature works, and how to get started building your first map today.
Studio 2.0: Map Projects, Map Editor, and Tileset Builder
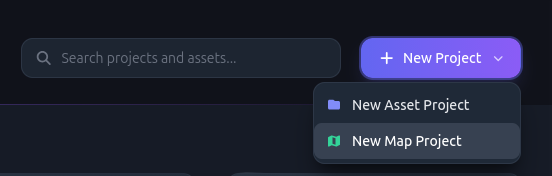
A New Project Type: Map Projects
Until now, every project in Studio was an asset project: a container for characters, props, backgrounds, and their animations. Map projects are an entirely new project type built specifically for designing game maps and managing tile assets in one place.
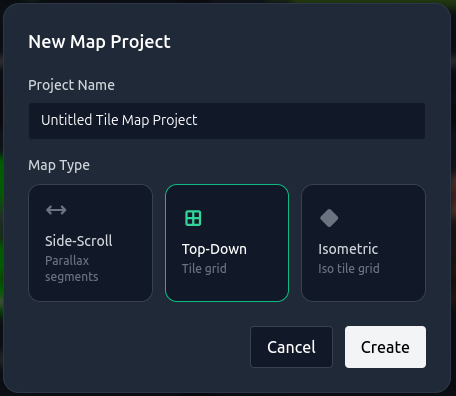
Creating a Map Project
Three Map Modes
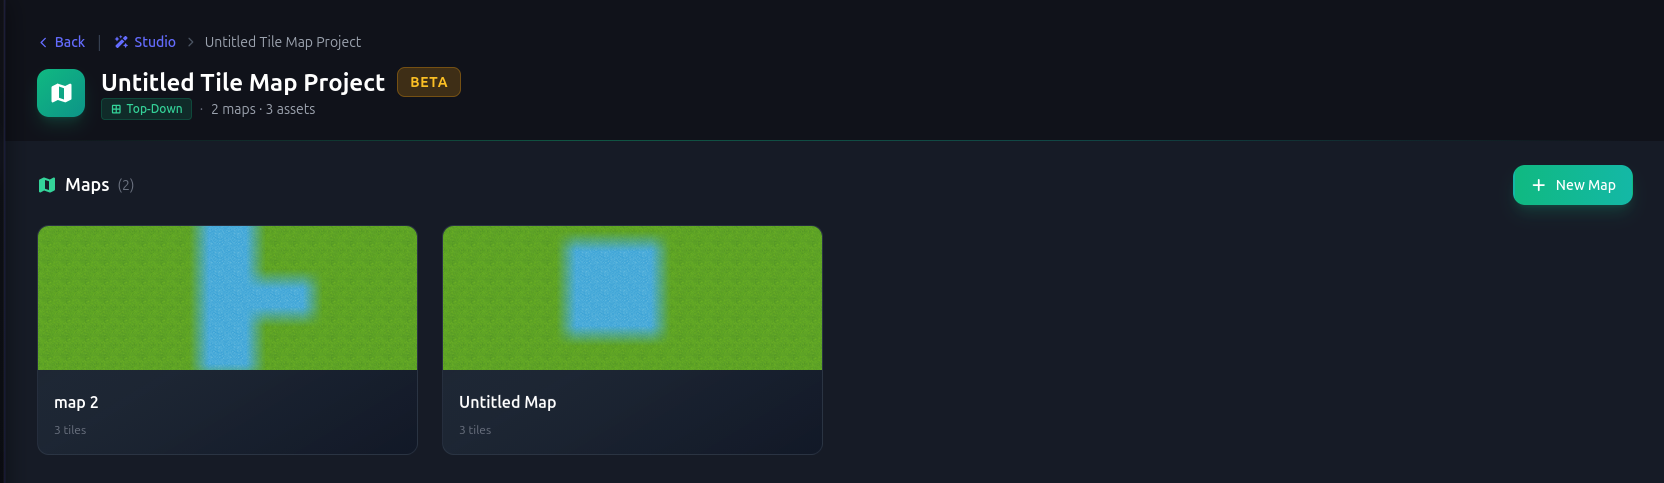
The Map Project Dashboard
Each map project has its own dashboard with two sections: Maps and Tile Assets. Think of it as your control center for everything that goes into building a game world.
Maps Section
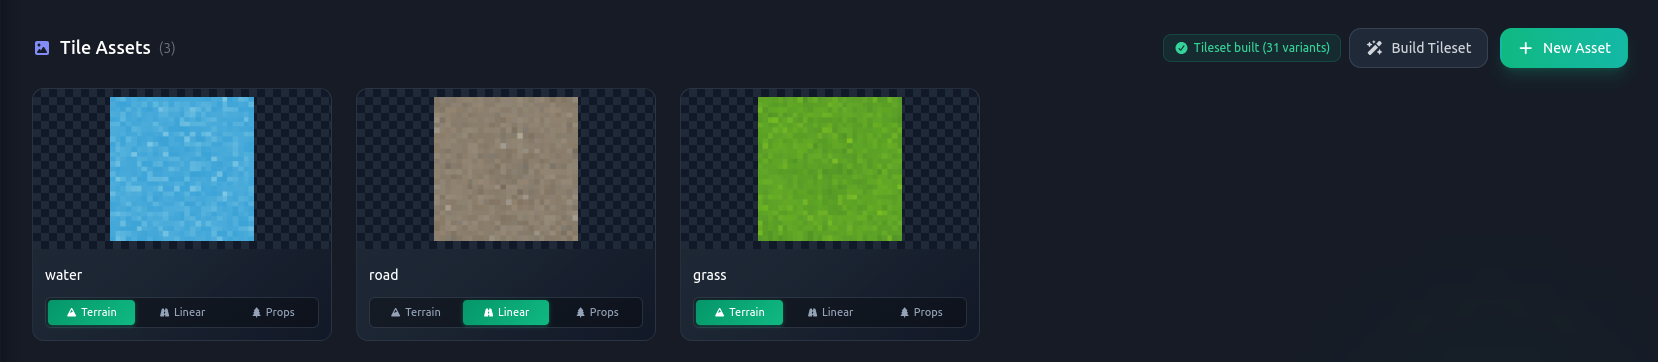
Tile Assets Section
The Map Editor
The Map Editor is a full visual editor for painting and designing your maps. It opens when you click any map from the project dashboard. The layout is split into three areas: the Tile Palette on the left, the canvas in the center, and the toolbar at the top.
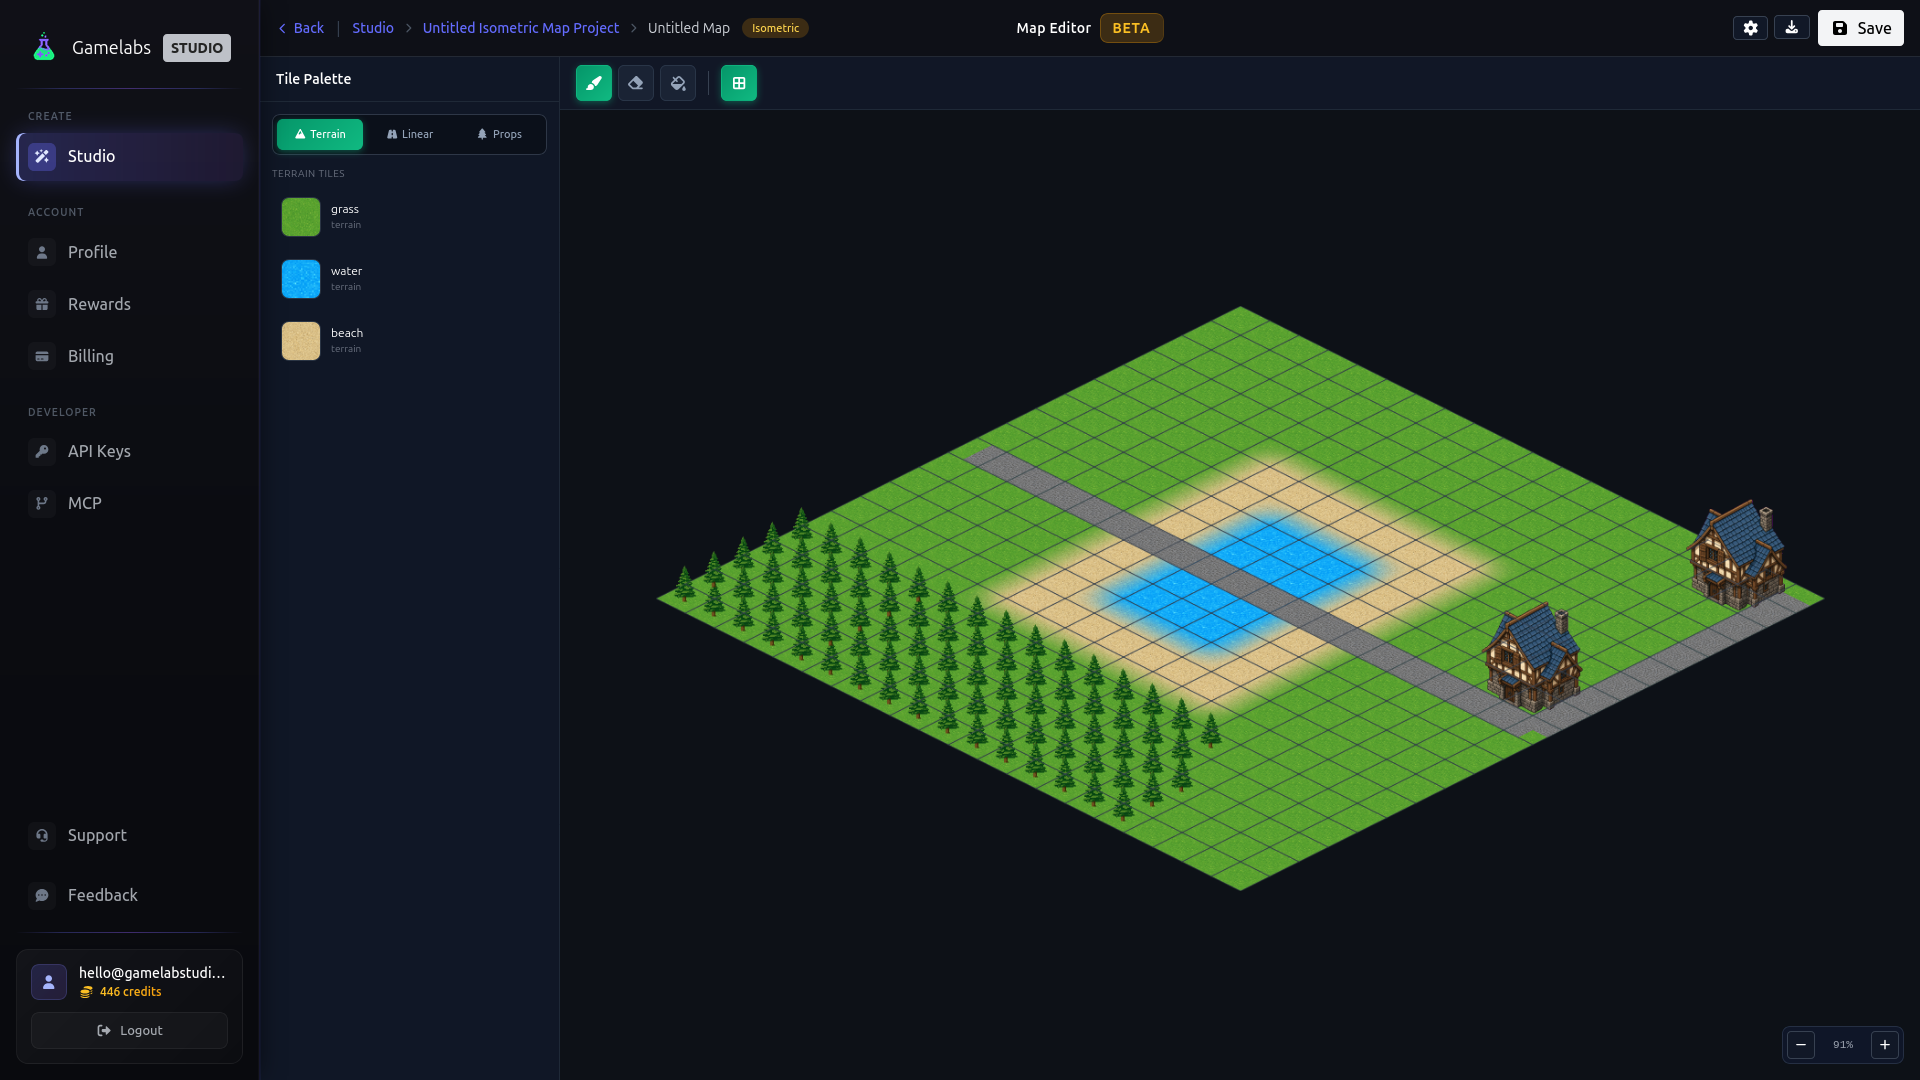
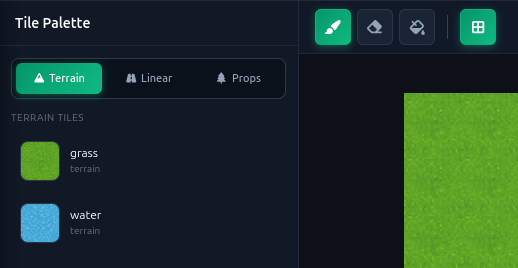
Tile Palette
Drawing Tools
Layers
The Tileset Builder
Generating a single tile image is only the first step. To build a real game map, you need variants: corners, edges, inner pieces, and transitions. The tileset builder handles this automatically.
How It Works
Exporting Your Maps
The Map Editor includes three export options, accessible from the download button in the top-right corner of the editor.

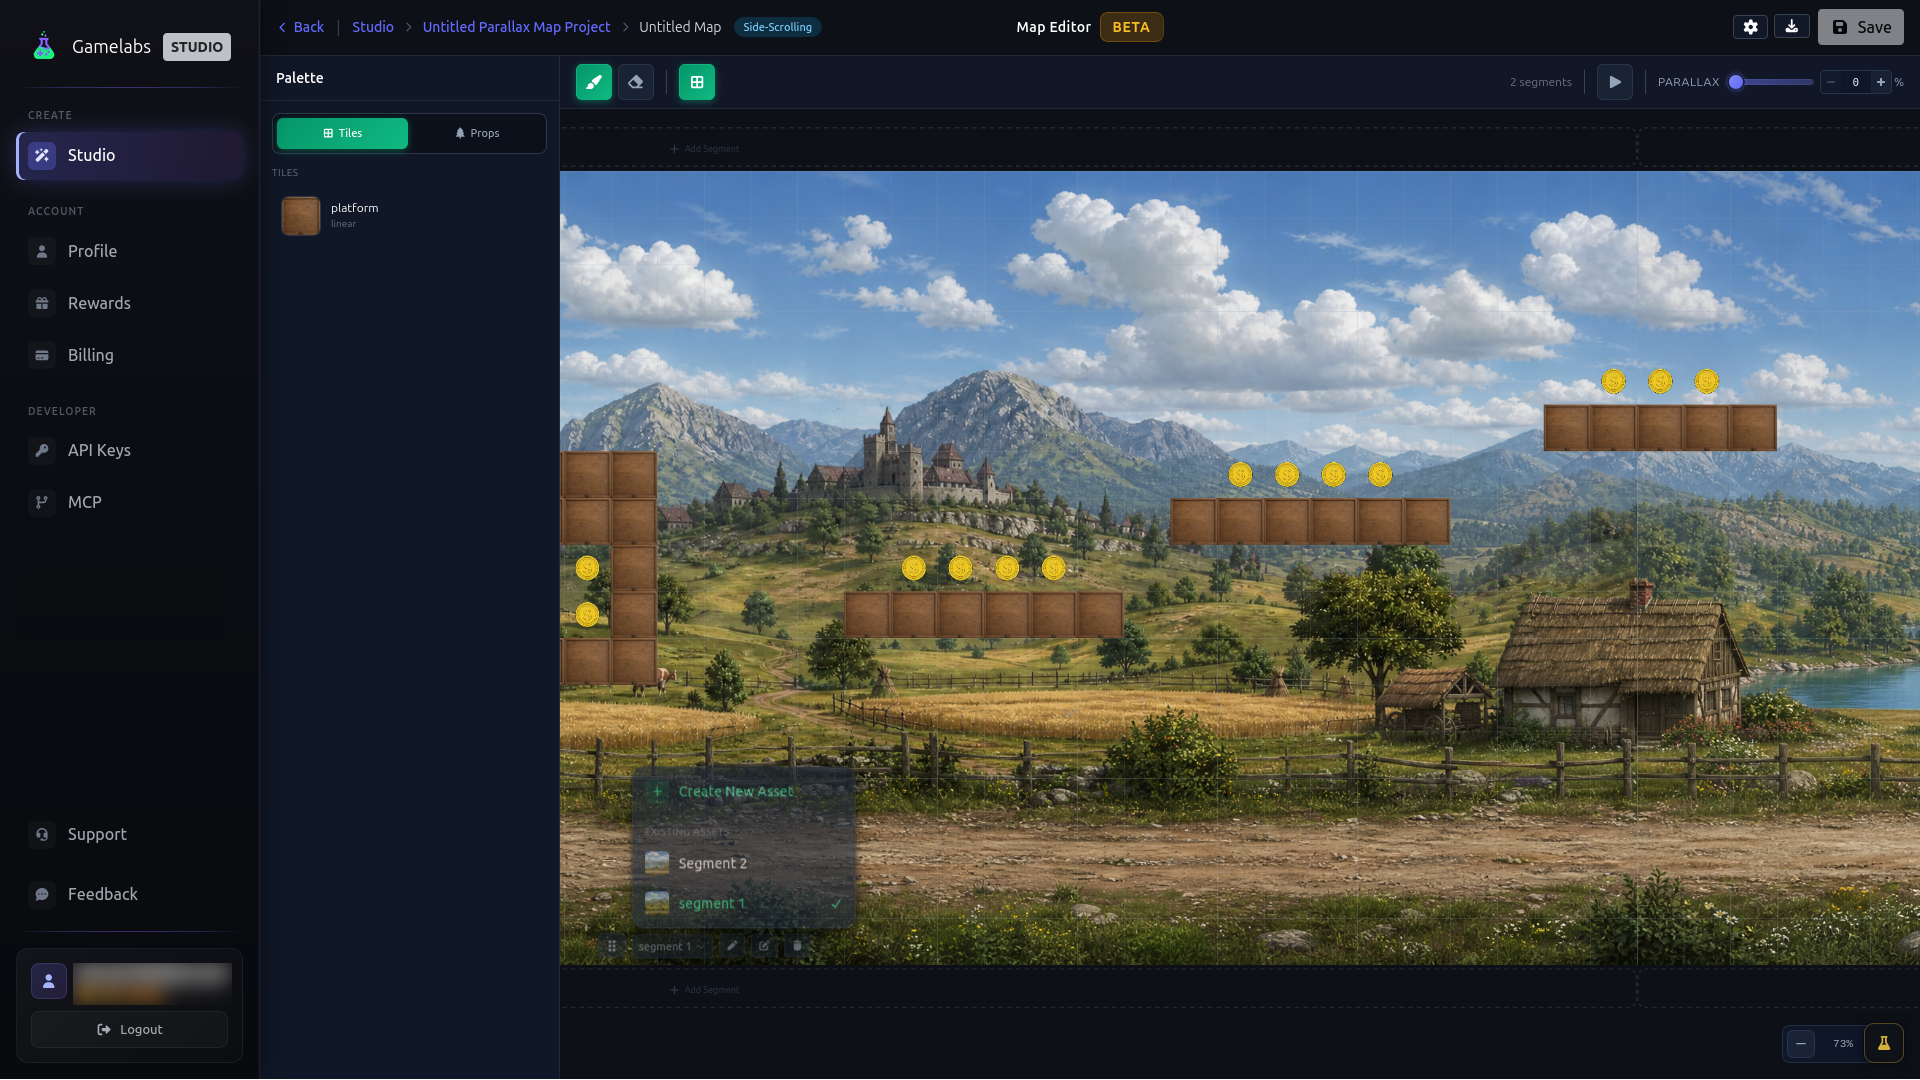
Side-Scrolling Maps and Tileable Backgrounds
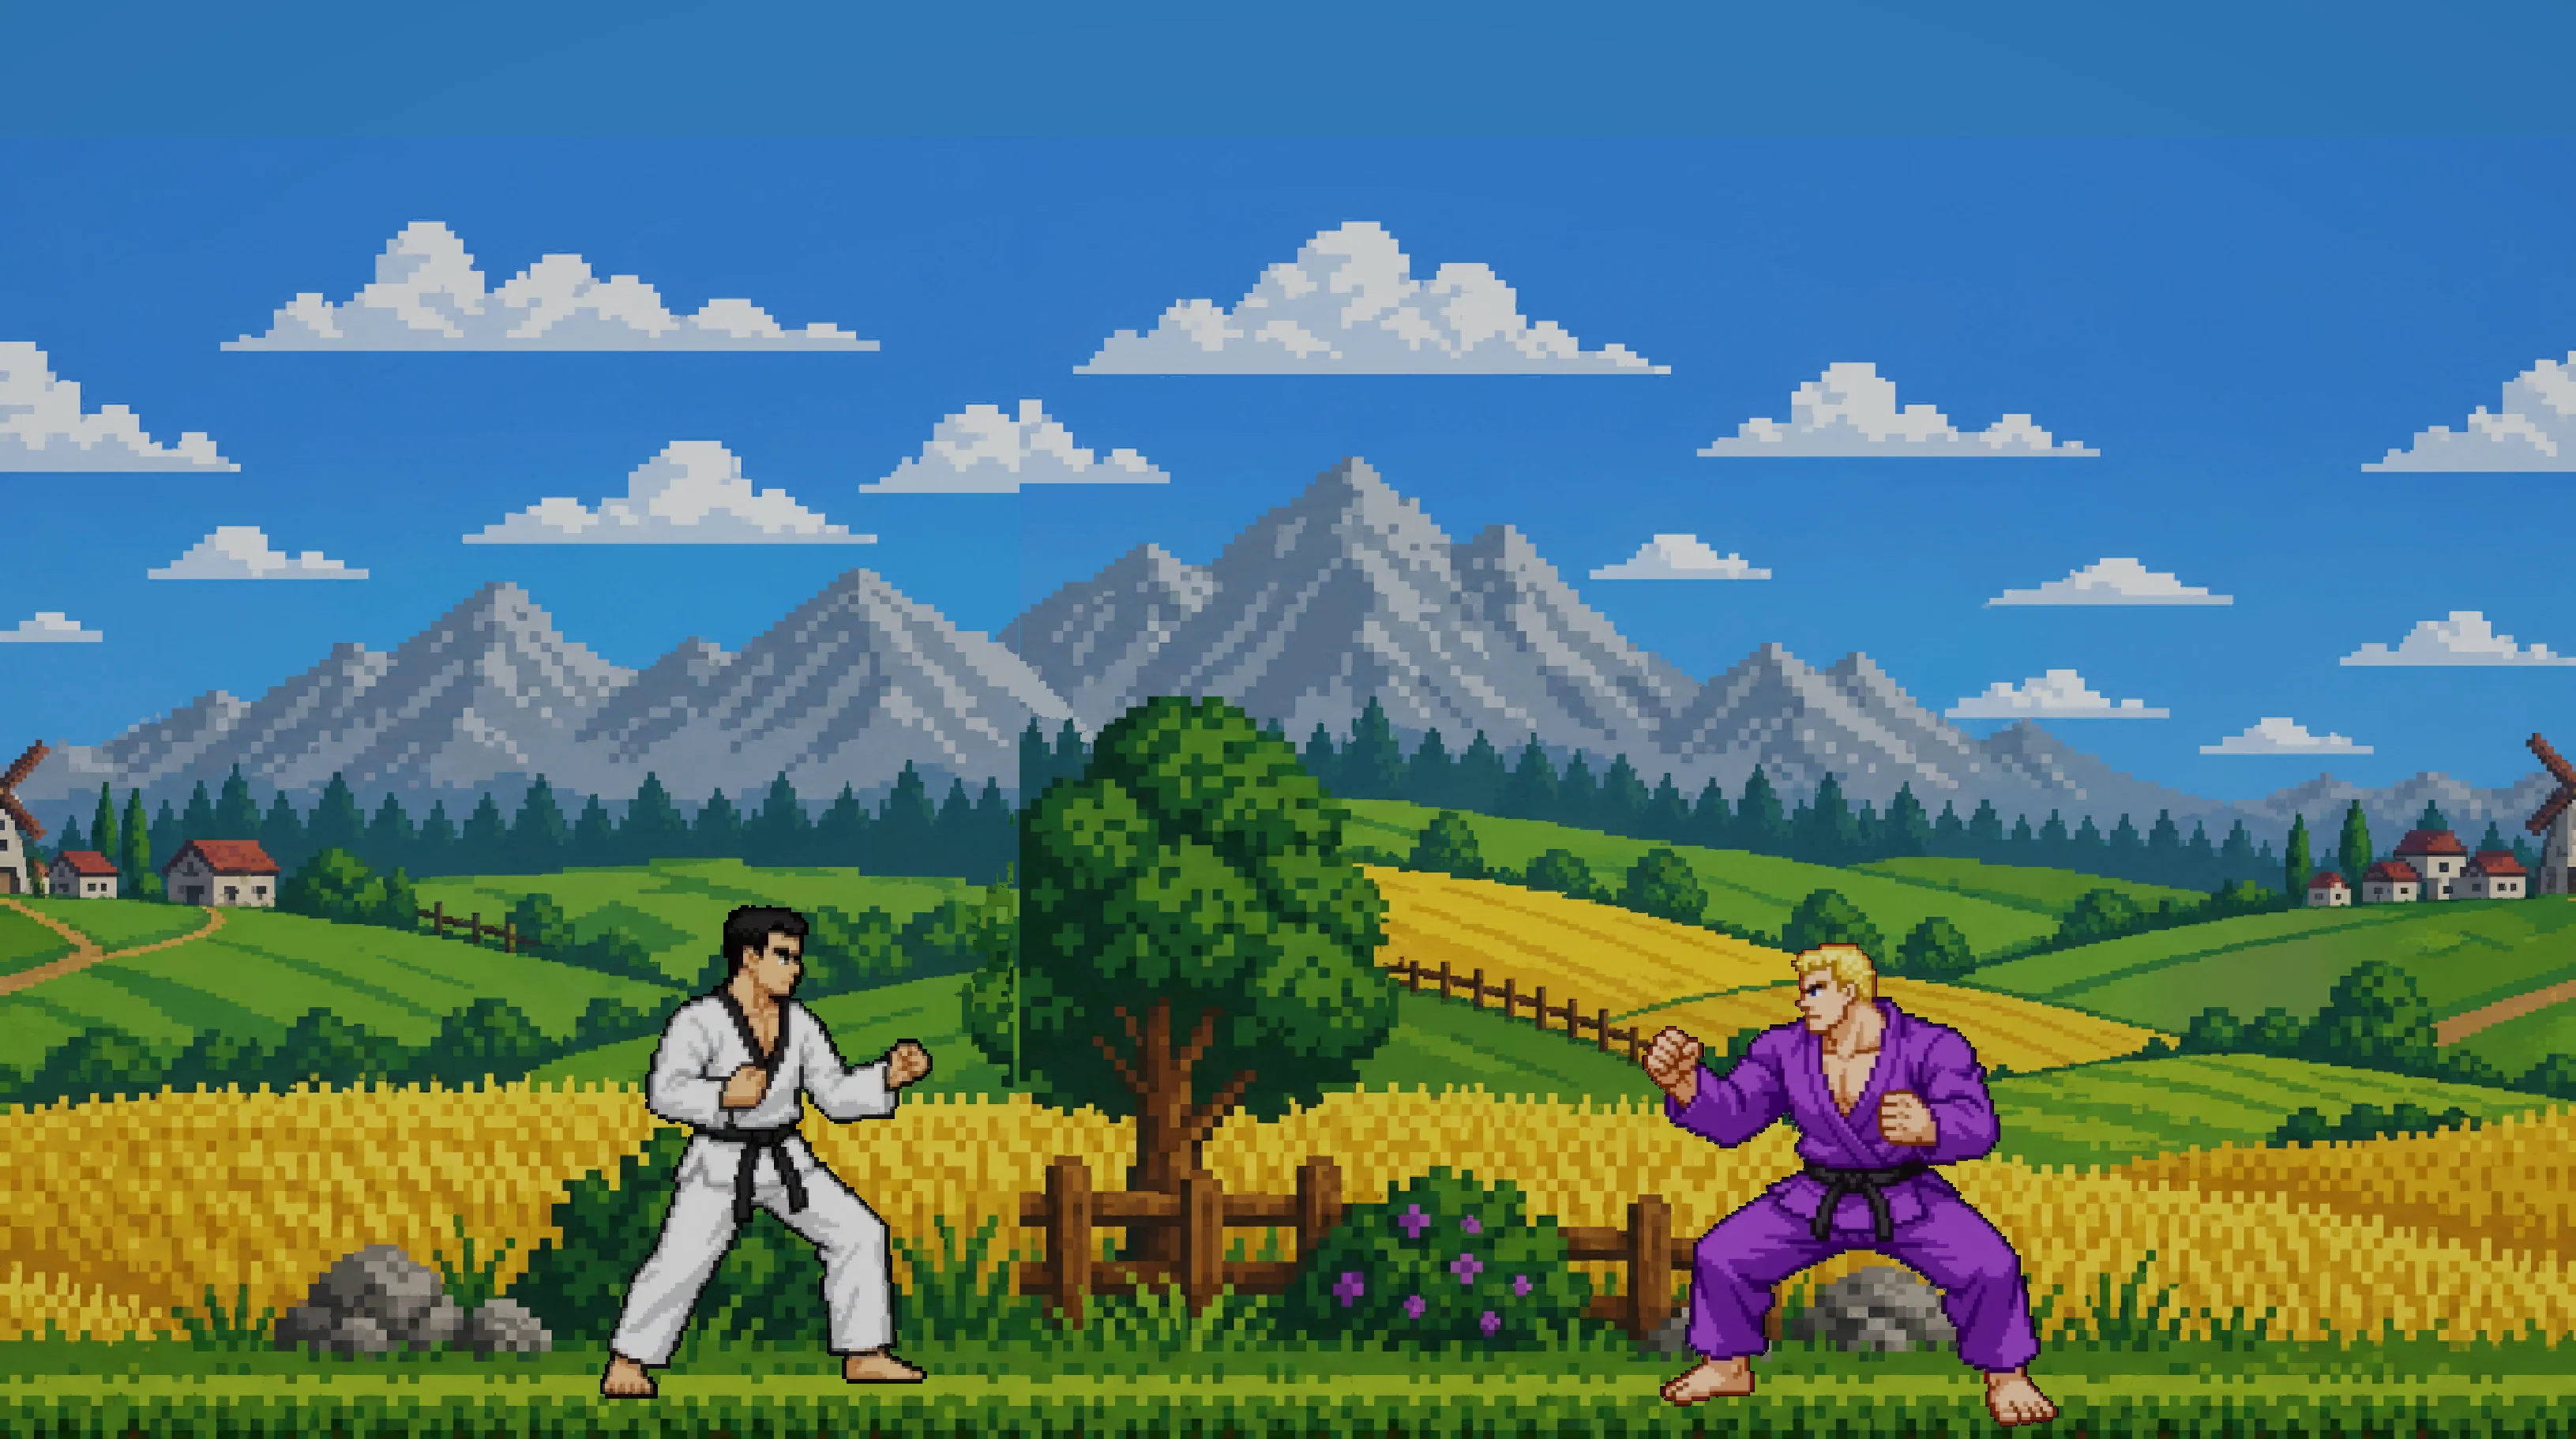
We want to give a special shoutout to Darko Tomic for his thorough and honest writeup on using AI for game development. In his article Addressing AI Use in Game Development, Darko built a full Unity game demo end to end using Gamelabs Studio for the art. His feedback on the tool was direct and fair:
Where the tool stops being magical is in backgrounds. I tried to generate parallax backgrounds, the kind that need to tile cleanly so they can scroll horizontally without a visible seam, and the results were rough. You can see the seam in the shot below where the field, the trees, and the mountains do not line up across the repeat boundary."
He was right. lack of support for tileable backgrounds was a weak spot, and we heard him. The side-scrolling map mode in Studio 2.0 is a direct response to this kind of feedback. We now support both generating a single tileable background image, and the side-scroll workflow built around parallax segments: discrete sections that are designed to be composited and scrolled together. Combined with the parallax splitter we shipped in 1.7 (which separates generated images into foreground, midground, and background layers), the pipeline now gives you real control over how your scrolling backgrounds are assembled.
This is still a beta feature and we are continuing to improve seamless tiling, but the segment-based approach already produces significantly better results than trying to tile a single generated image. We appreciate Darko for being upfront about what worked and what did not. That kind of feedback is exactly what makes the tool better for everyone.
Map Thumbnails in Studio
One more thing: map projects now show thumbnails on their project cards in the Studio home page. As soon as you save a map with content on it, Studio captures a thumbnail so you can visually identify your projects at a glance without having to open them. If you have multiple maps in a project, the thumbnails stack and fan out on hover, just like asset previews do.
What Comes Next
Map Projects and the Map Editor are shipping today in beta. We are actively working on improving tile edge transitions, expanding the auto-tiling logic, and adding more export formats for popular engines. If you run into rough edges or have ideas for what would make the map workflow better for your game, let us know by using the feedback page located in the sidebar in Gamelabs Studio.
The entire point of building this inside Studio is to keep everything in one pipeline: generate your characters, generate your tiles, build your map, and export it all from the same place. No switching between five different tools.