Every game needs background textures: grass, stone, metal plating, dirt paths. and they all need to tile seamlessly. Traditionally, that meant manually offsetting images in Photoshop and painstakingly painting out the seams. It works, but it is slow.
With Gamelab Studio, you can skip all of that. Describe the surface you want in plain text, toggle the tileable setting, and the AI generates a production-ready texture whose edges wrap perfectly. In this guide, we walk through the full process and then show how to quickly build out an entire texture library by repeating the workflow.
Set Up Your Project
Before generating anything, you need a project to keep your textures organized. If you are building multiple biomes or levels, one project per environment keeps things manageable.
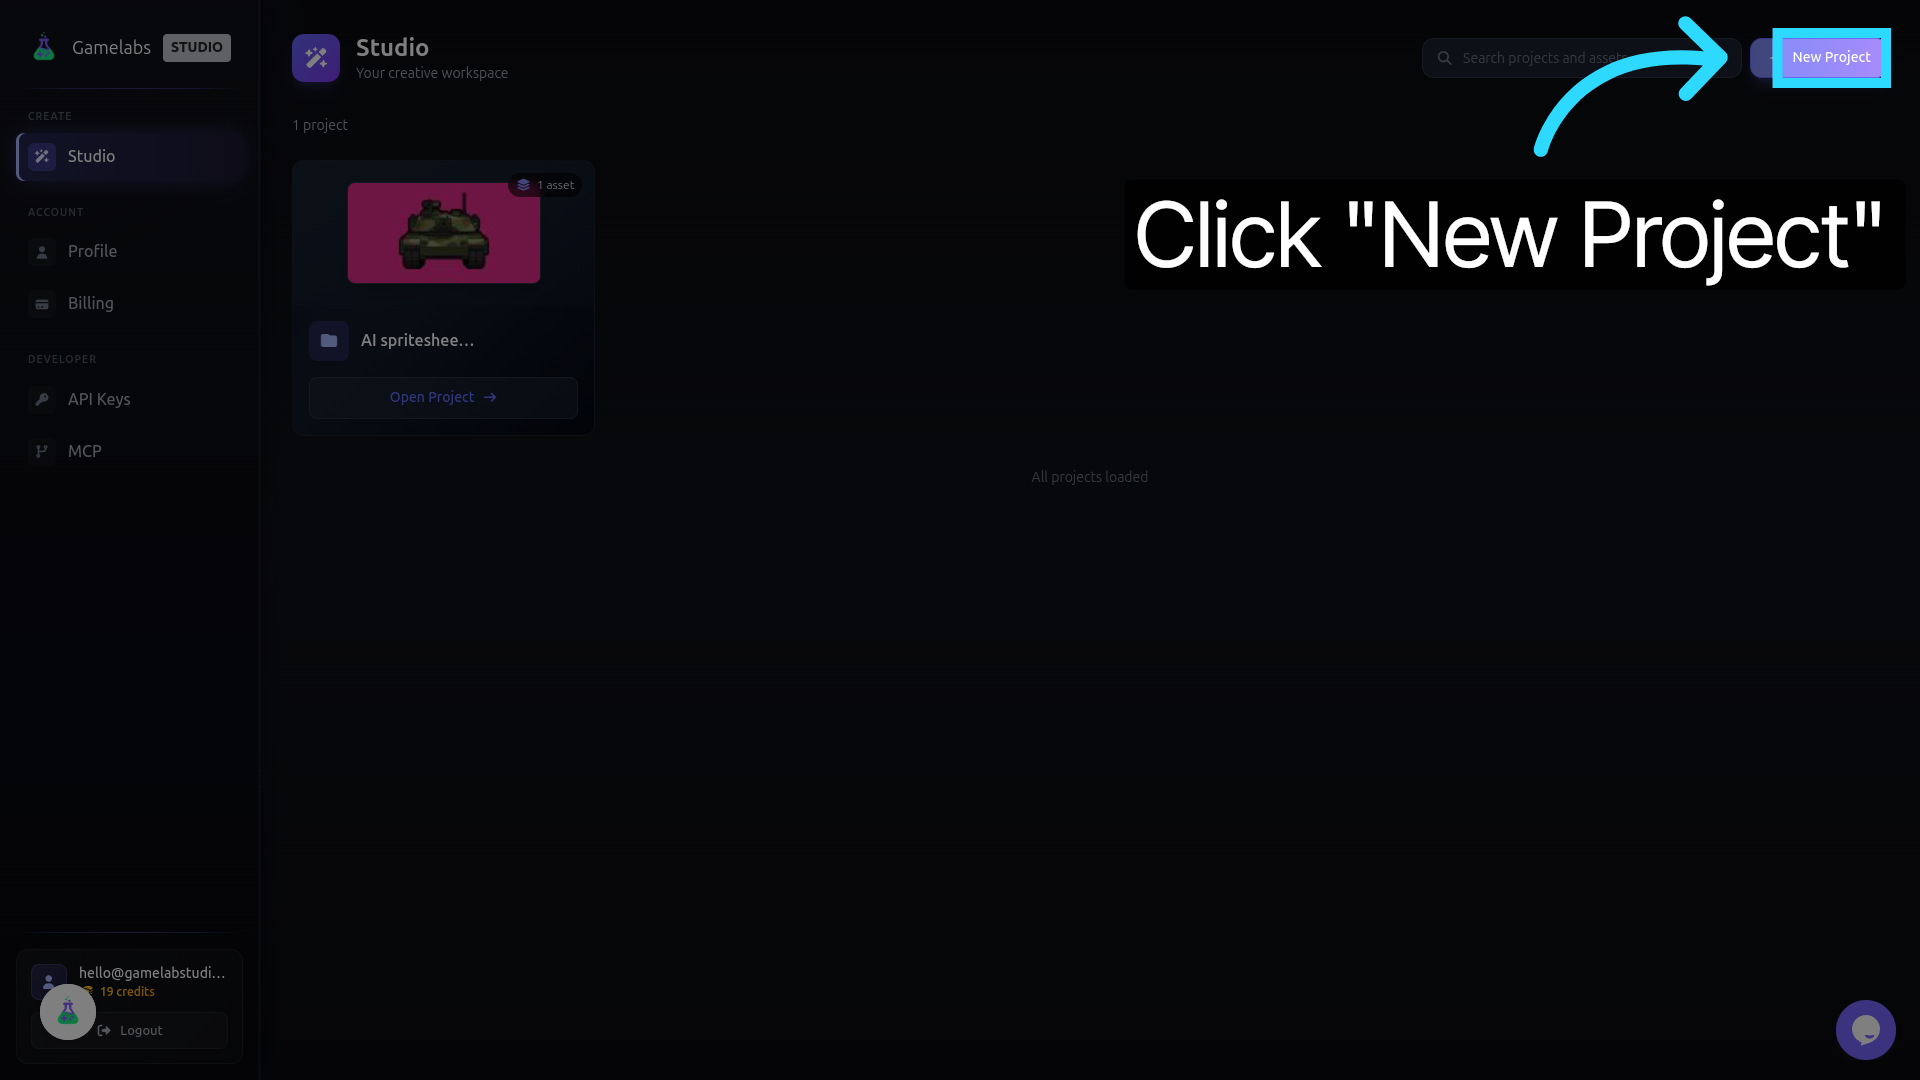
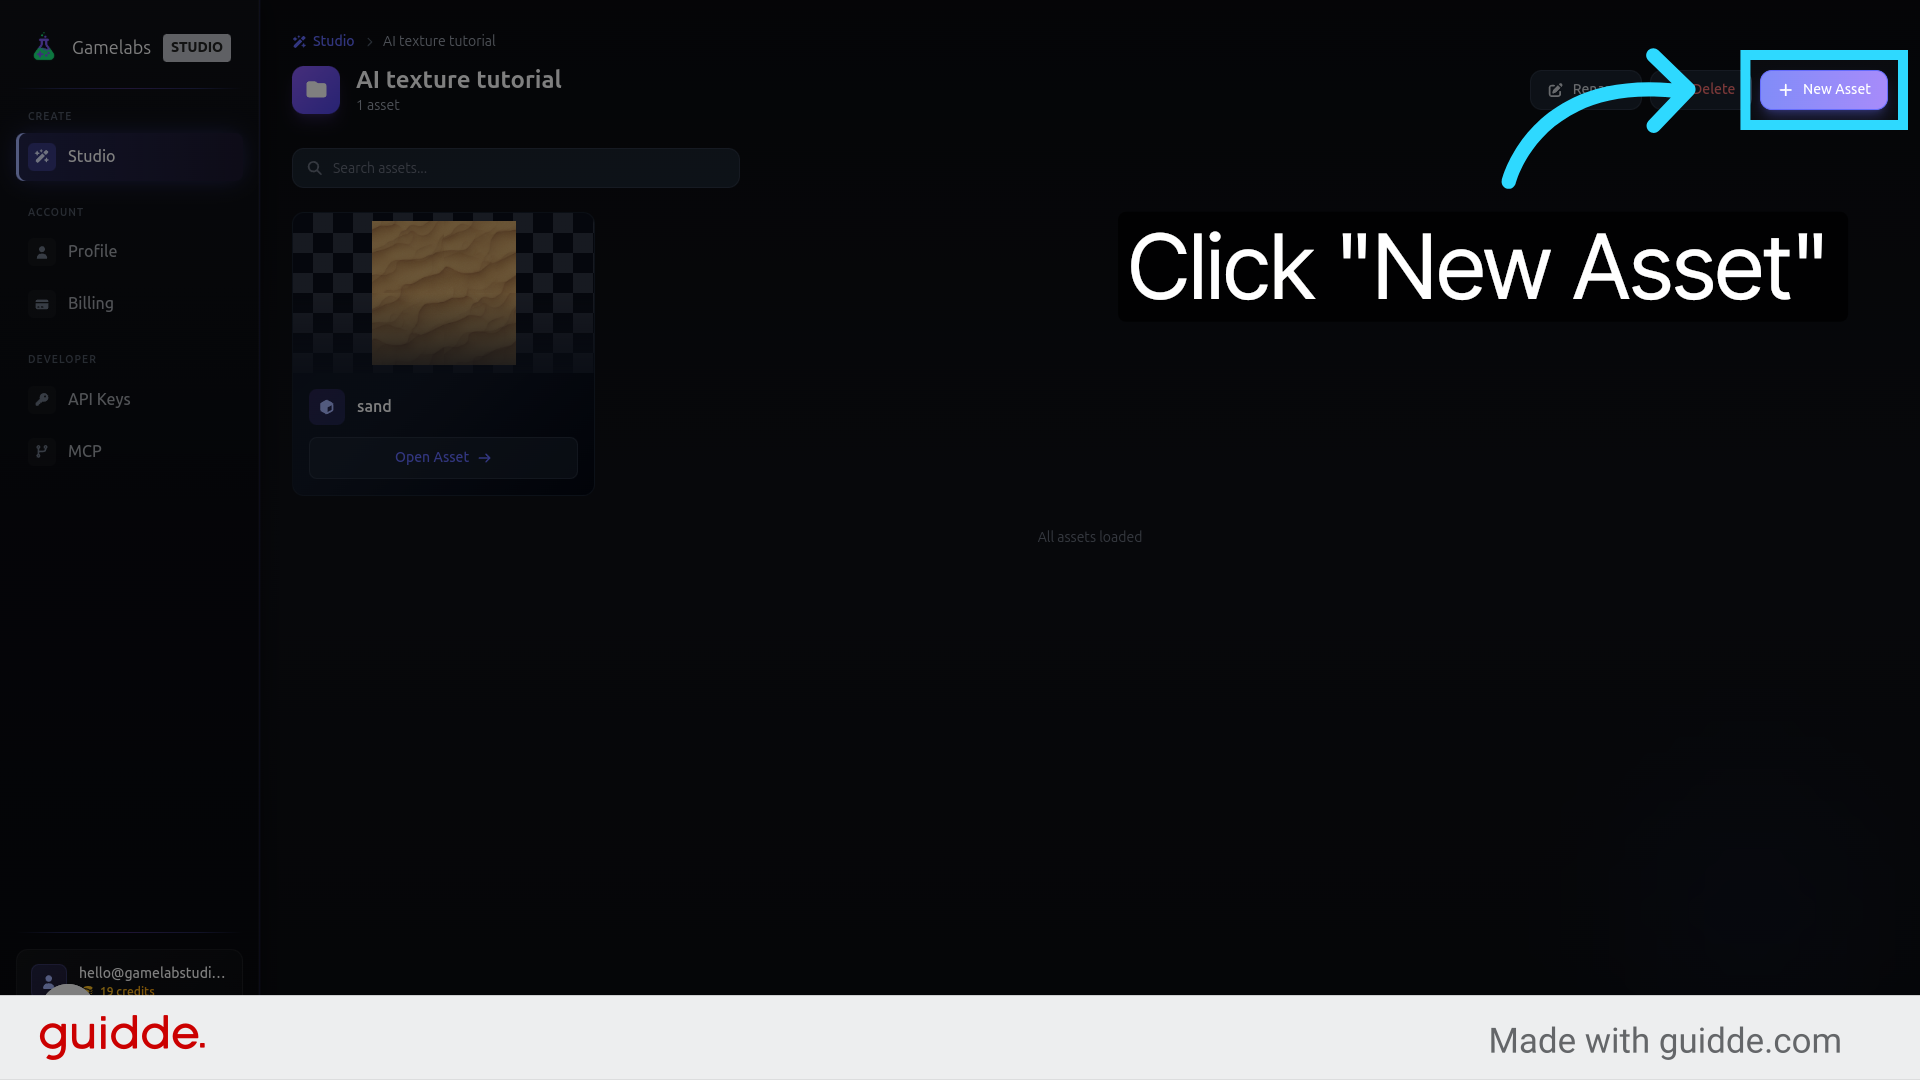
1. Create a New Project
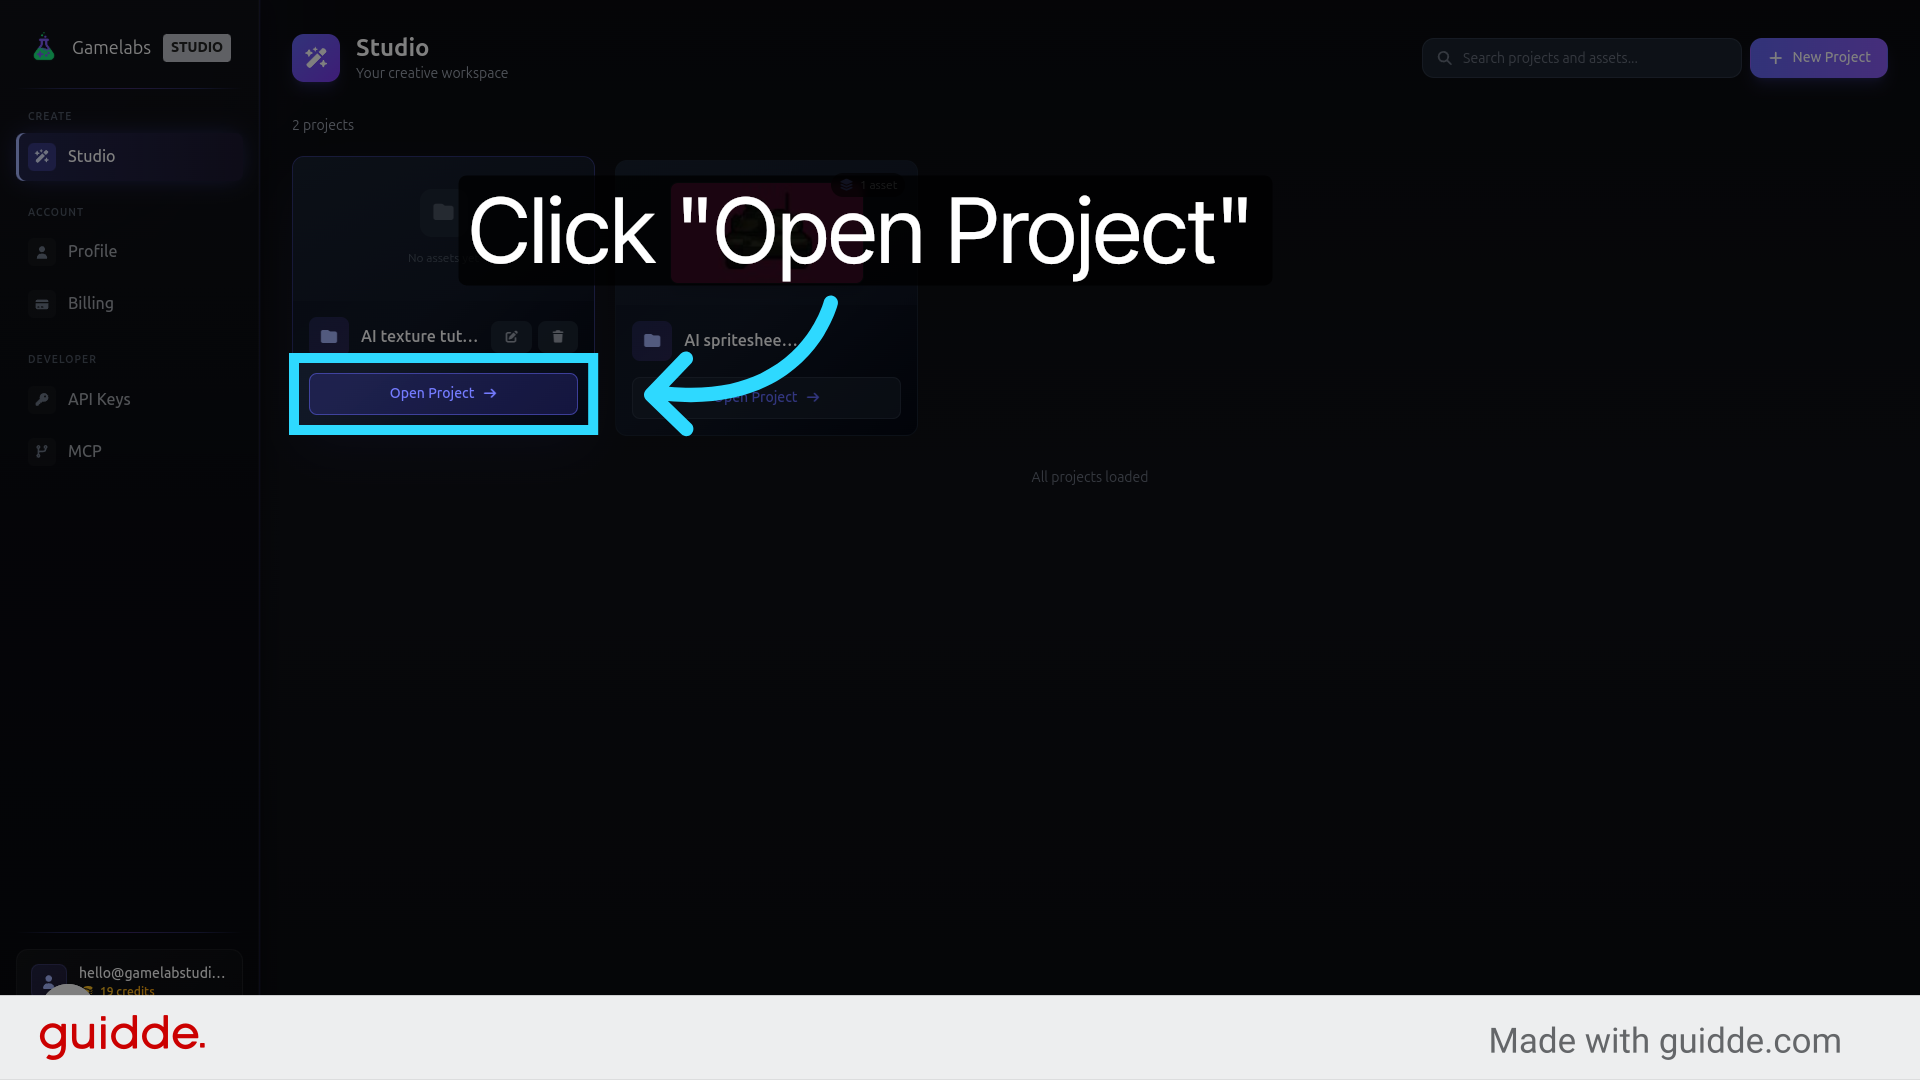
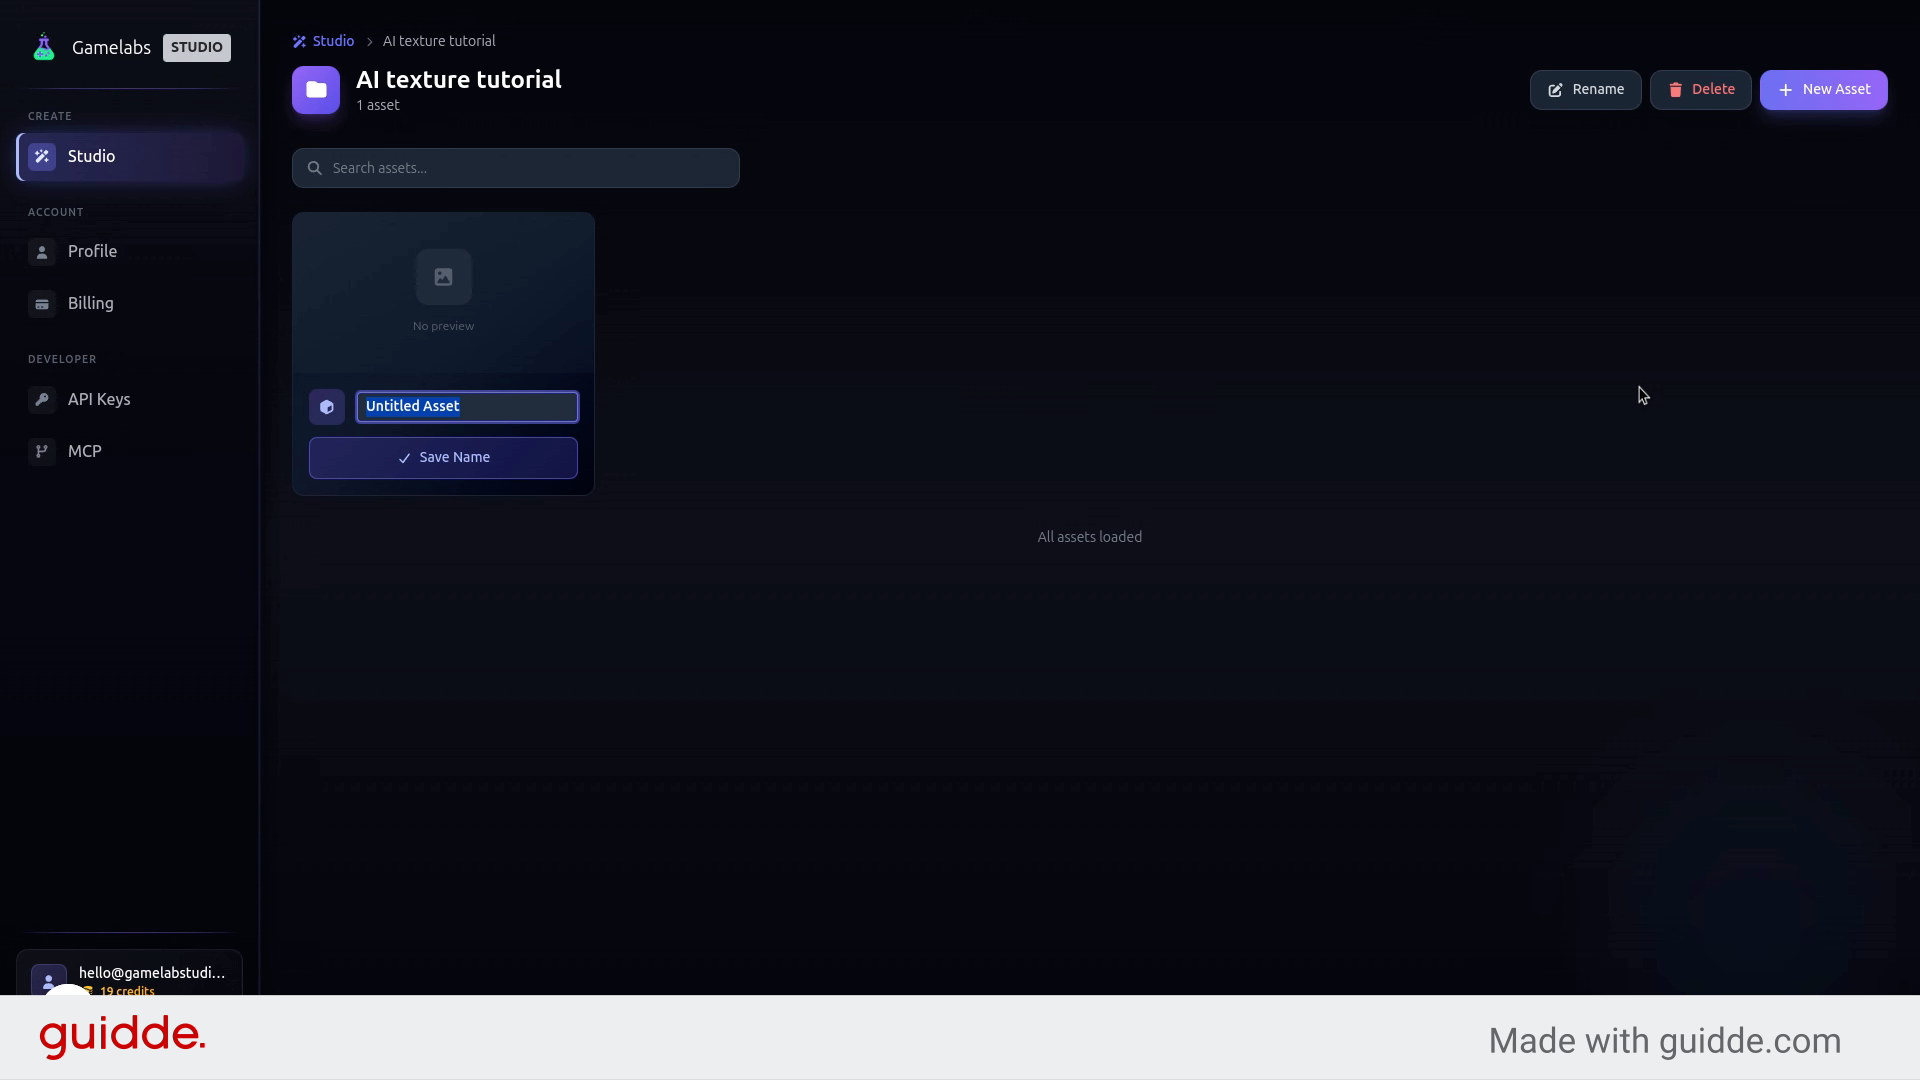
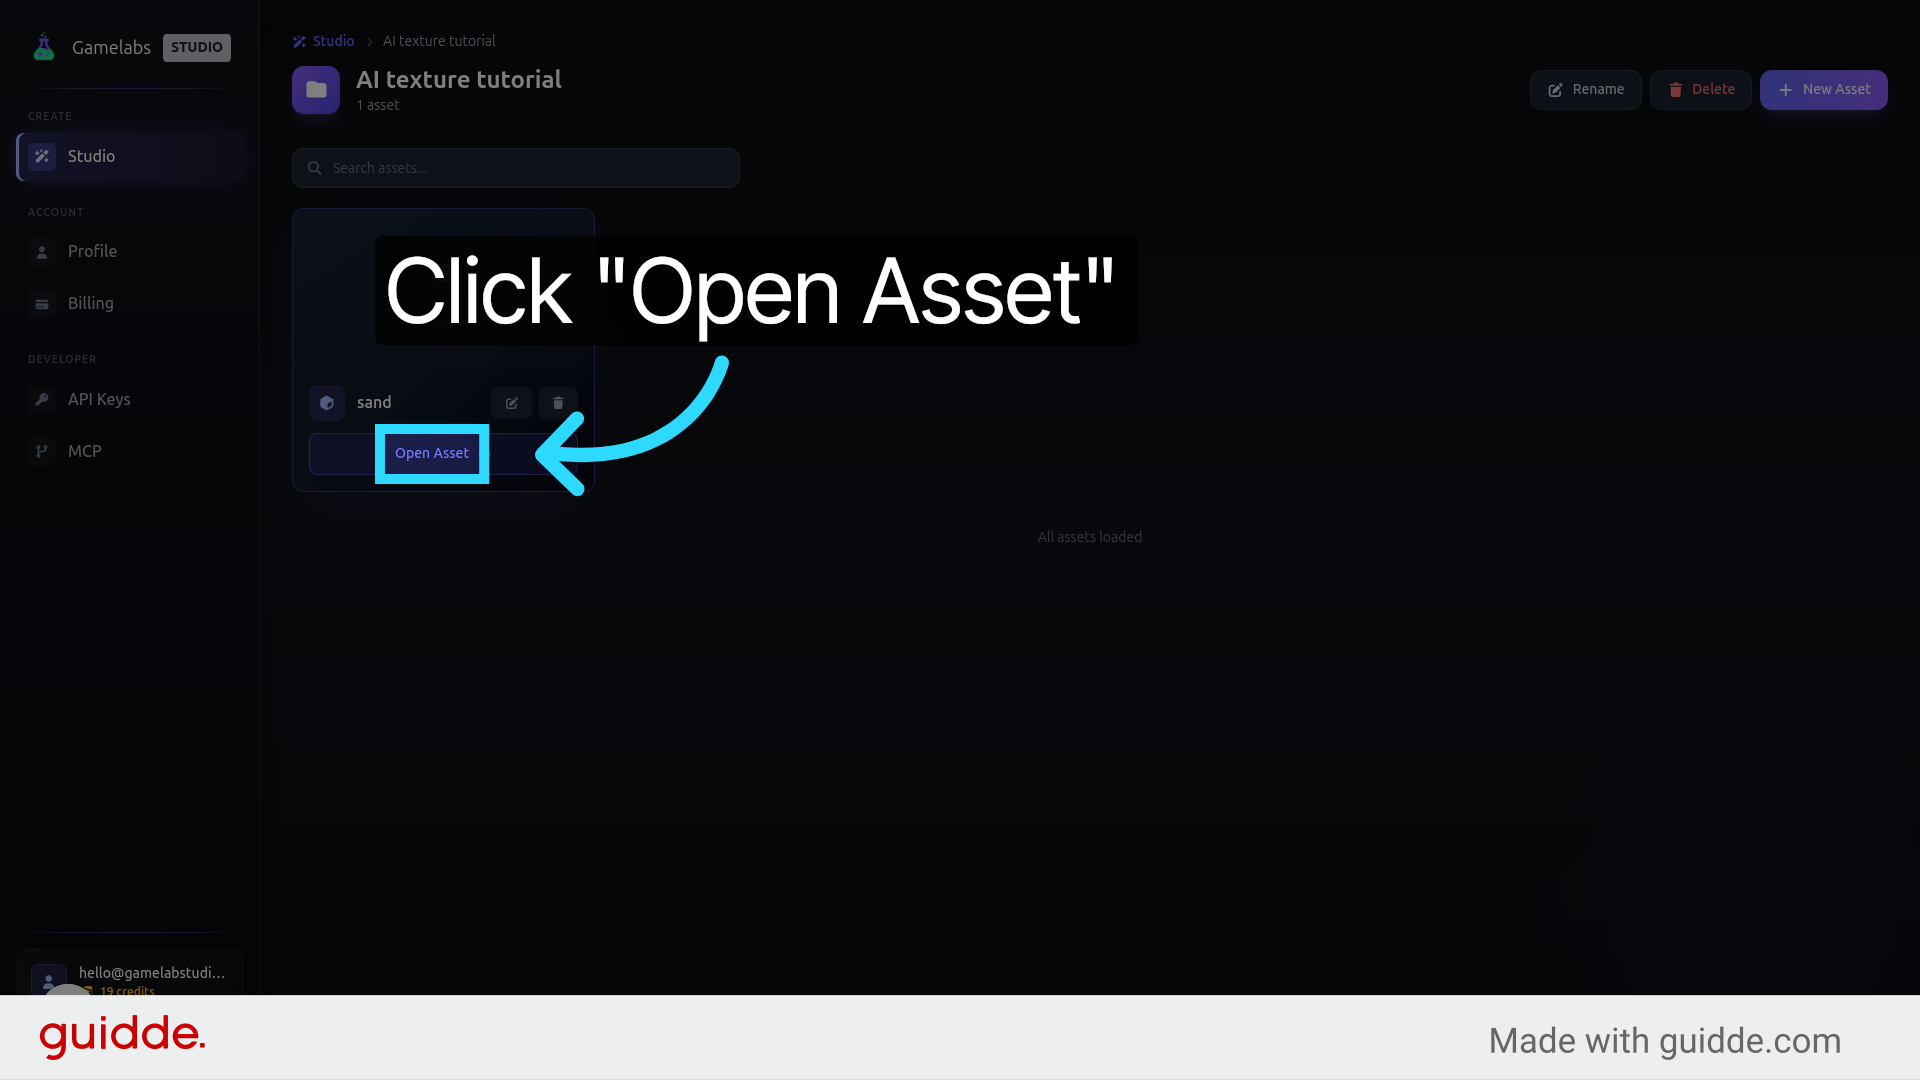
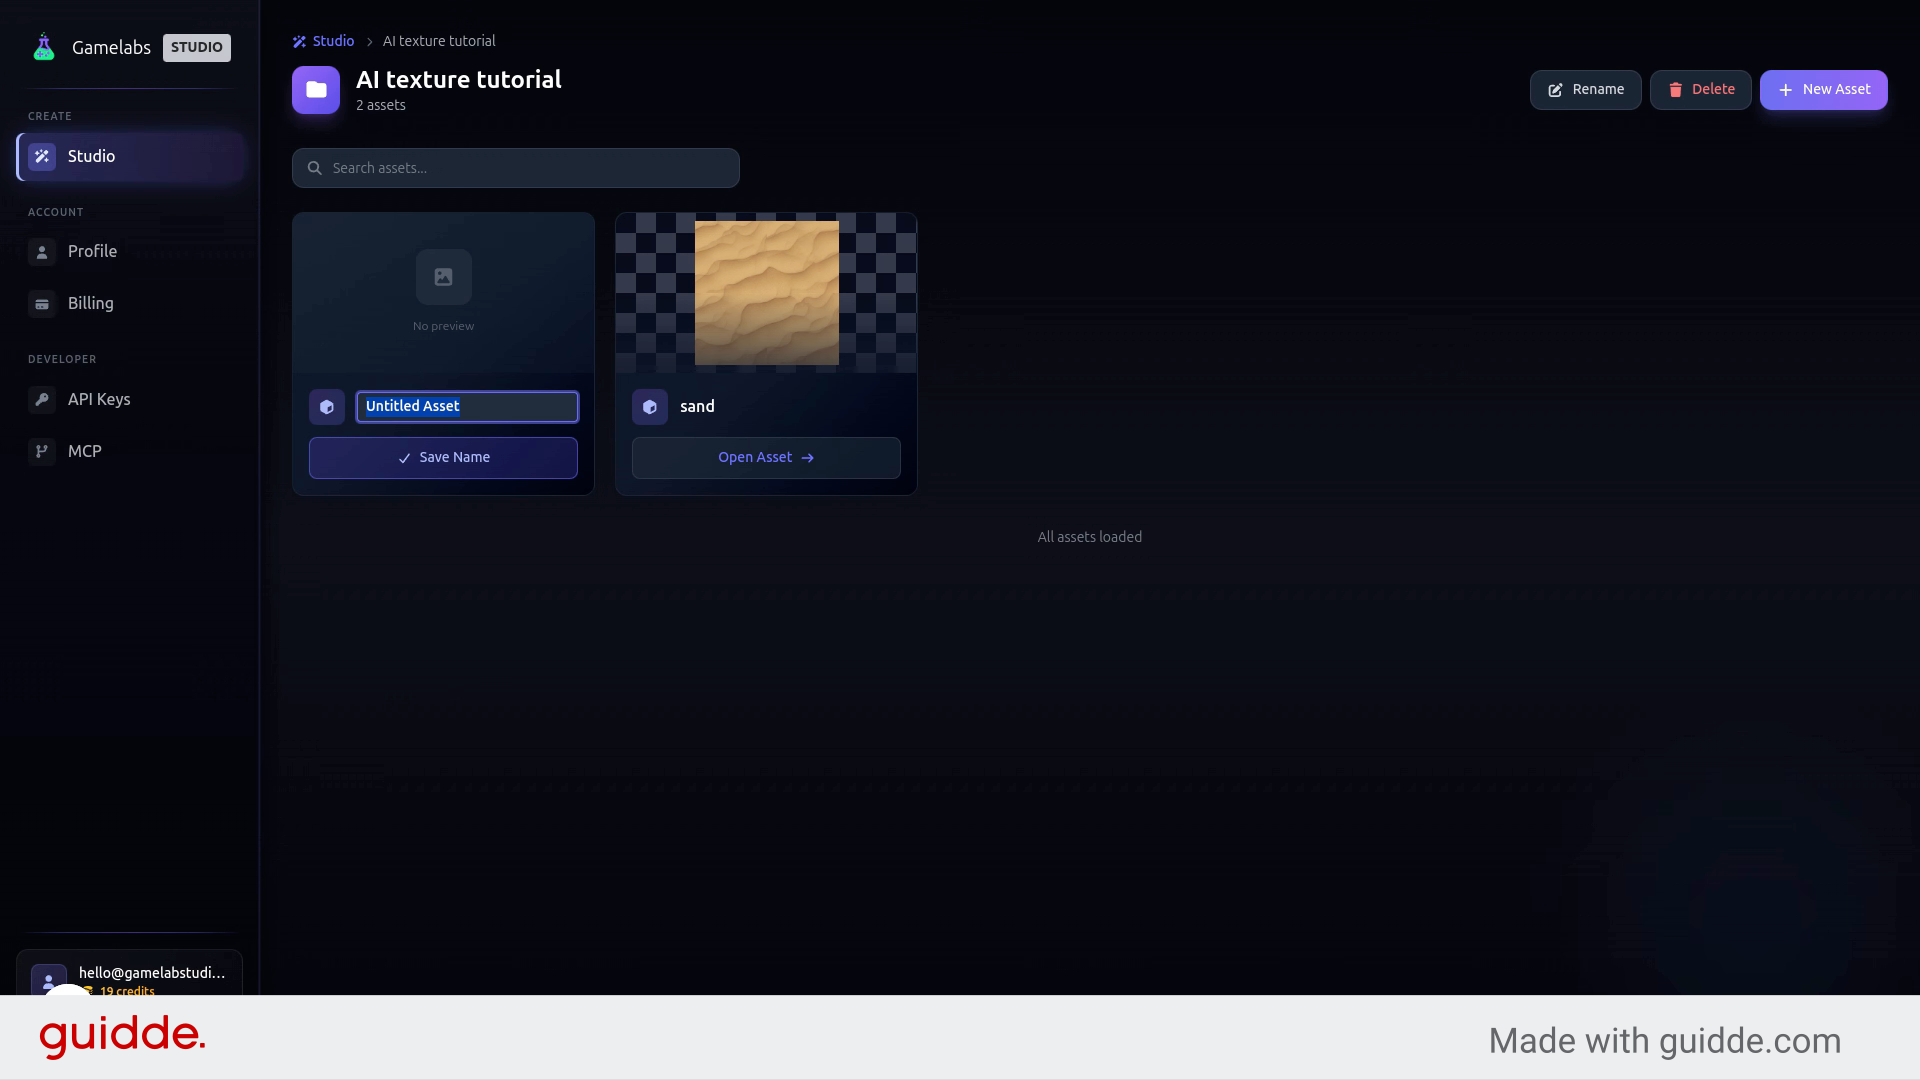
2. Open the Project and Create an Asset
Generate a Tileable Texture
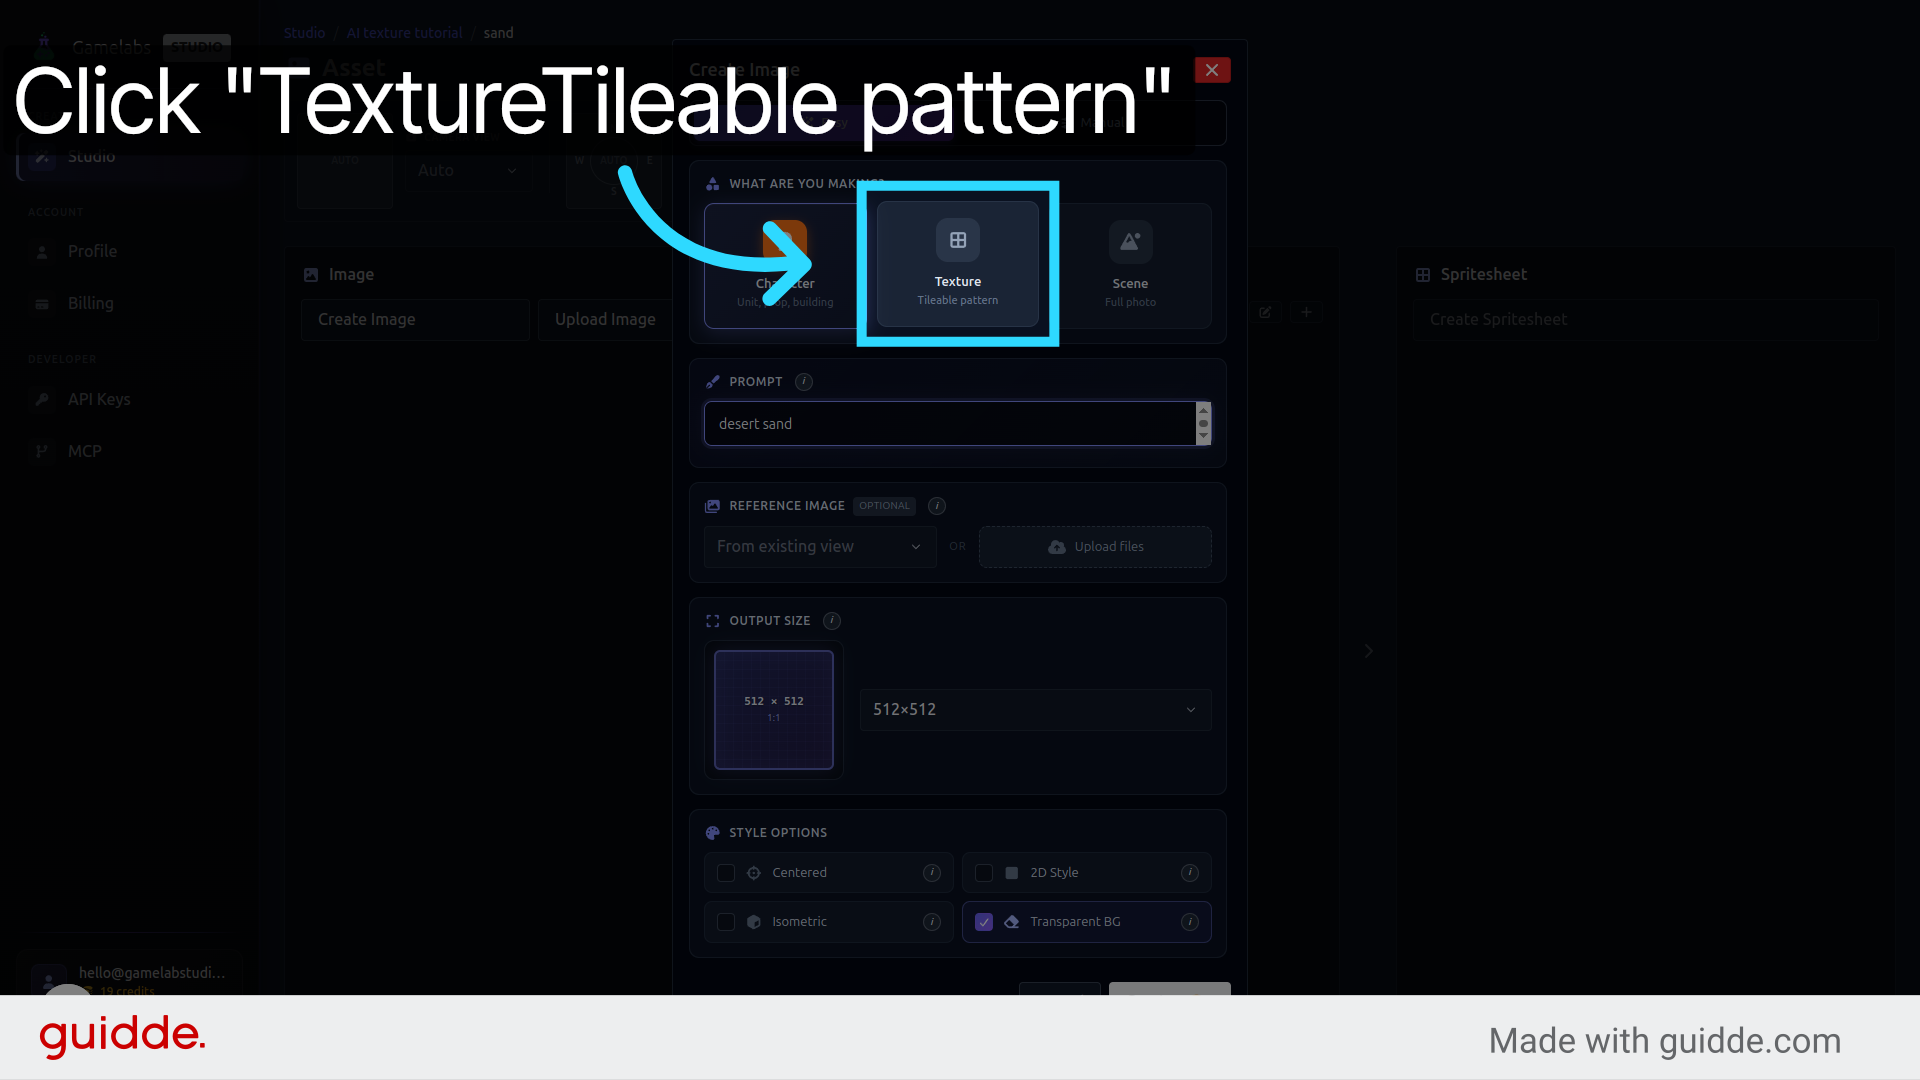
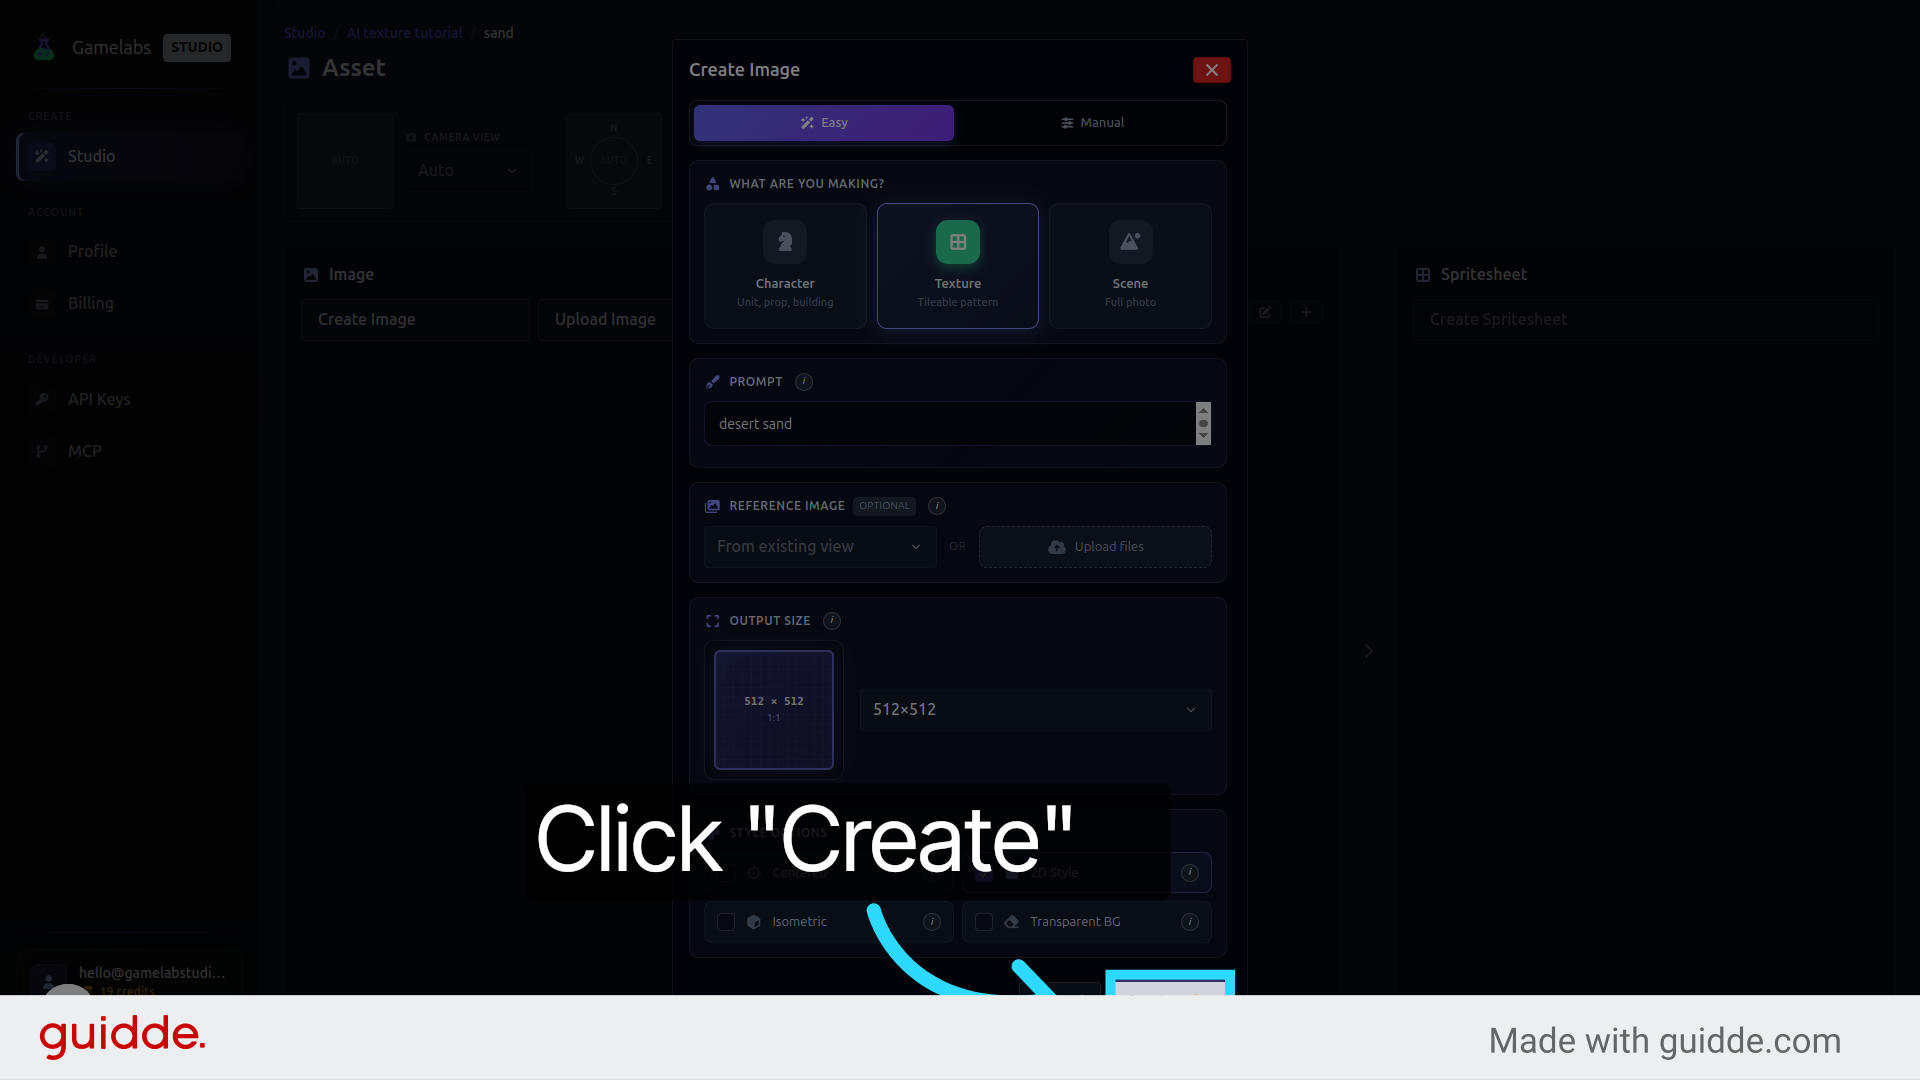
This is the core of the workflow. You write a text prompt describing the surface material, enable the tileable setting, and the AI handles the rest—including making sure the edges wrap without visible seams.
3. Open the Asset Editor
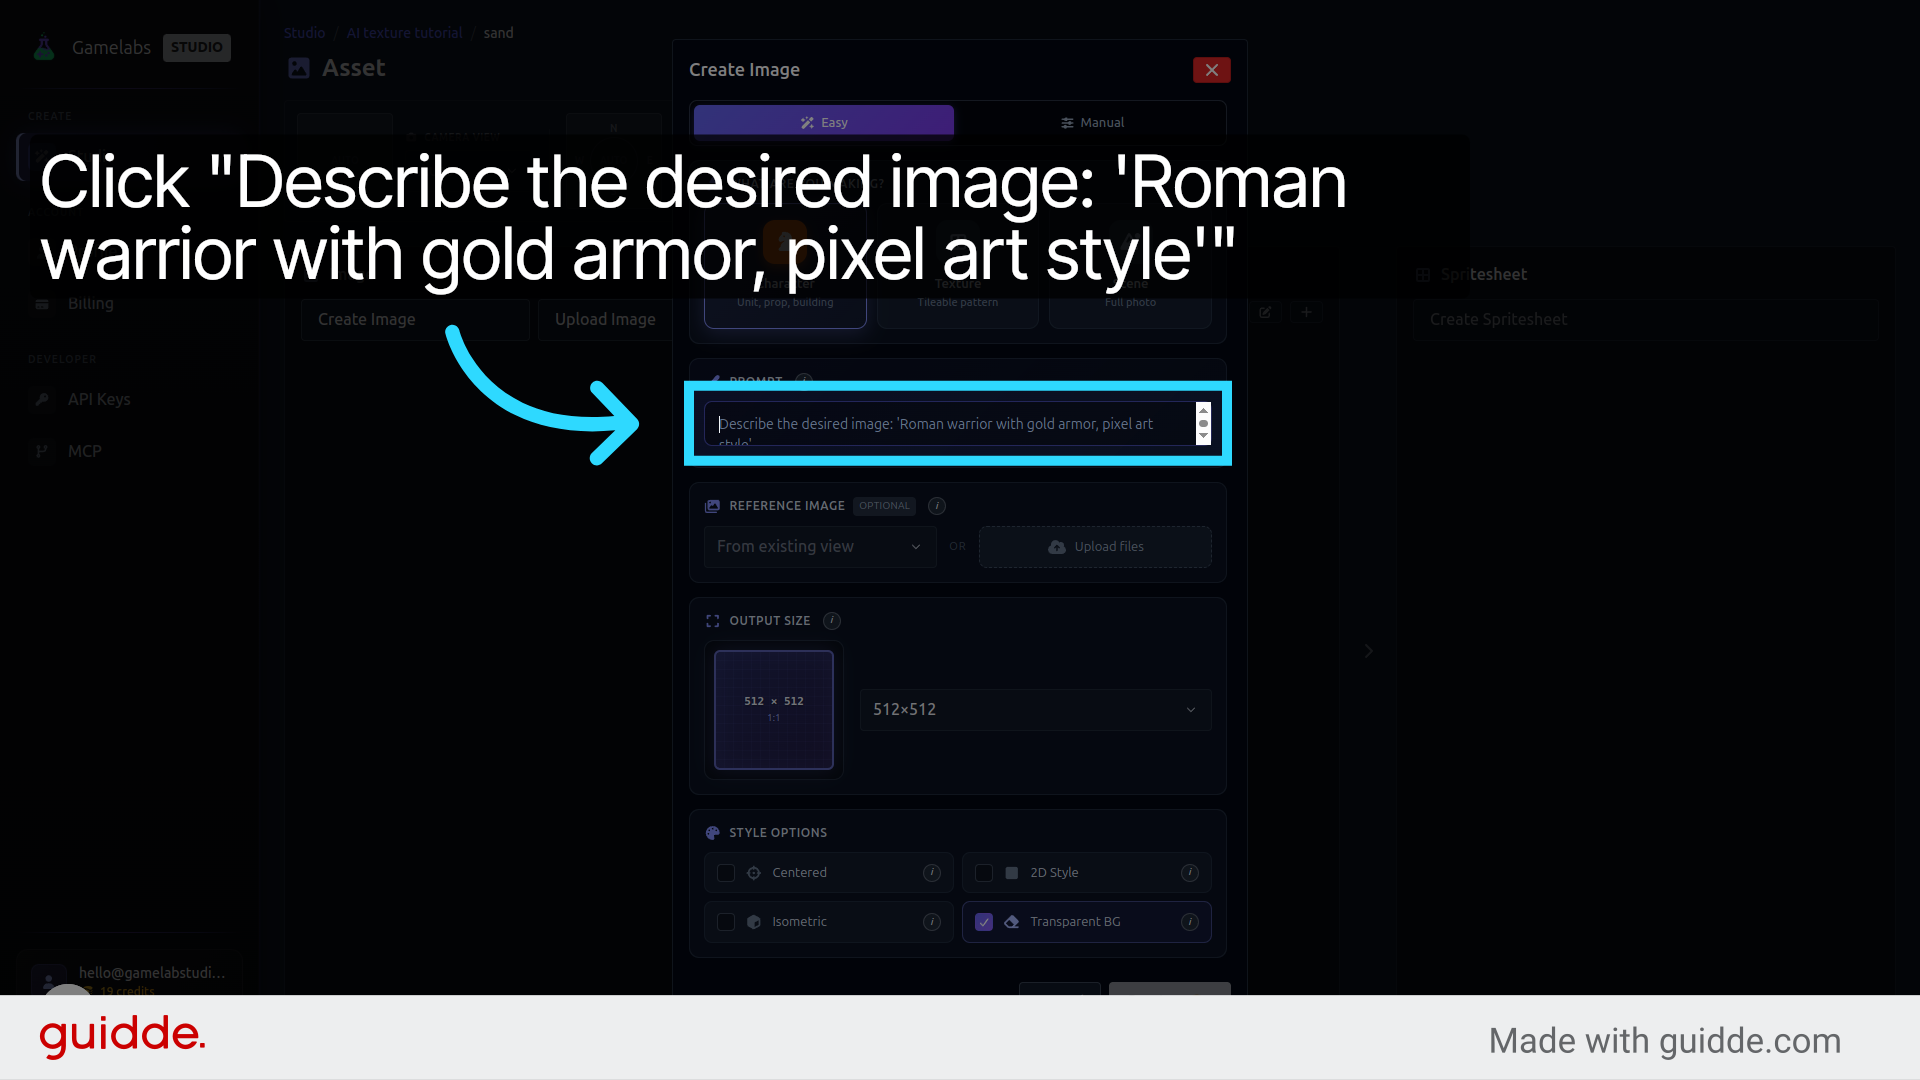
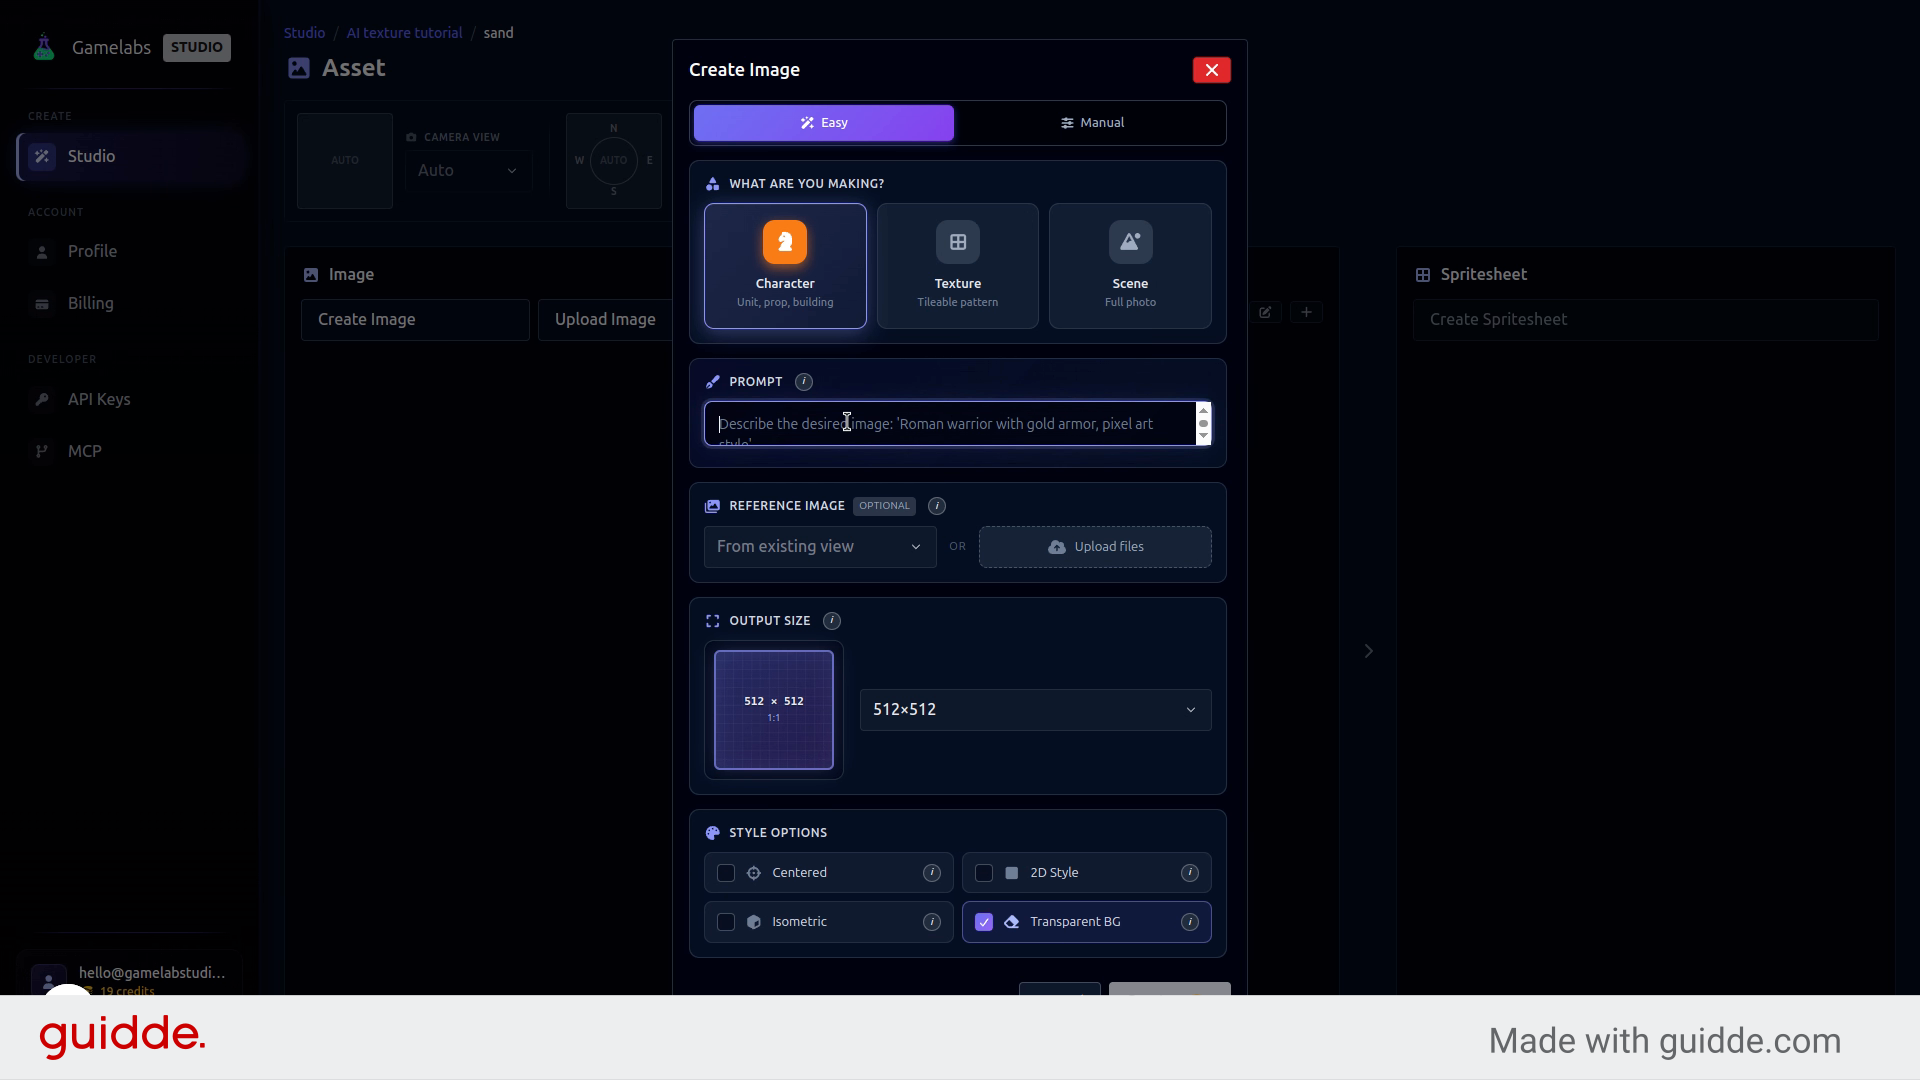
4. Write Your Prompt and Keywords
5. Enable the Tileable Setting
6. Generate the Texture
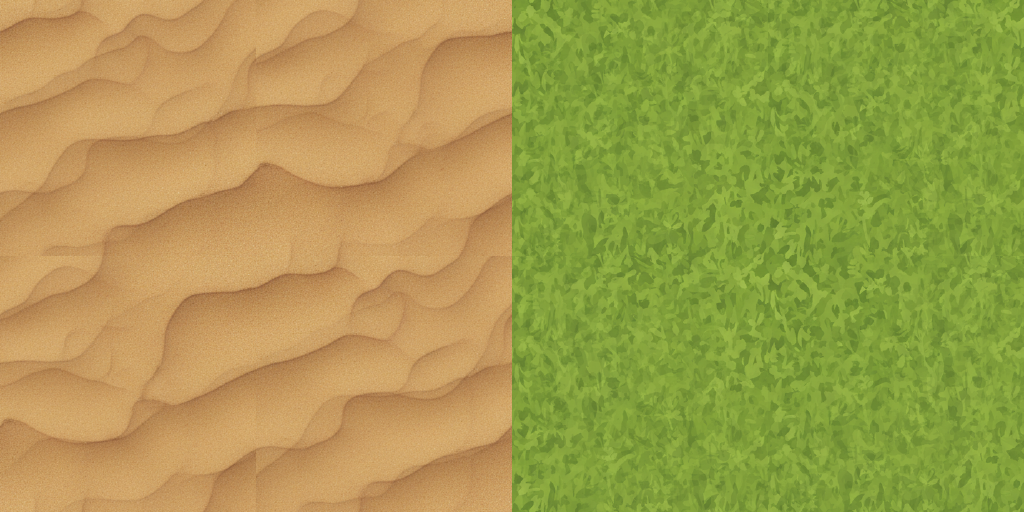
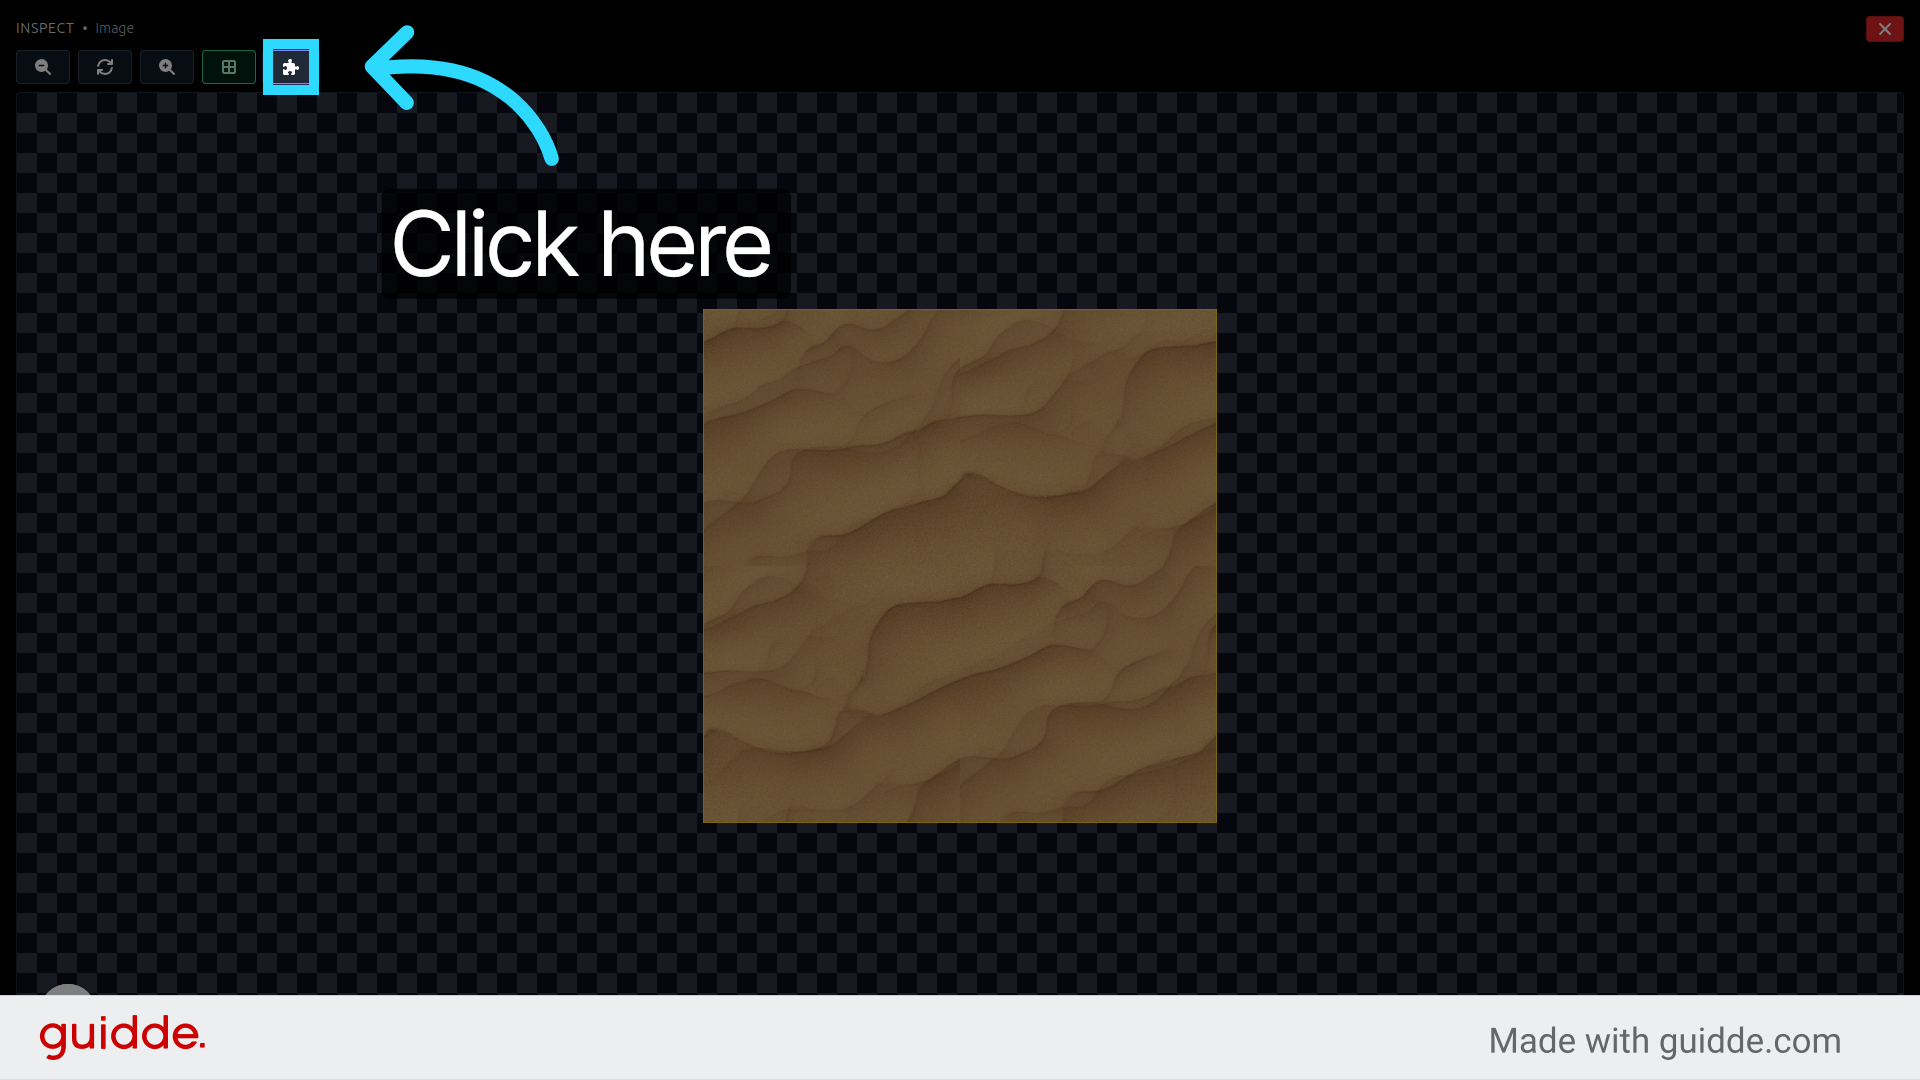
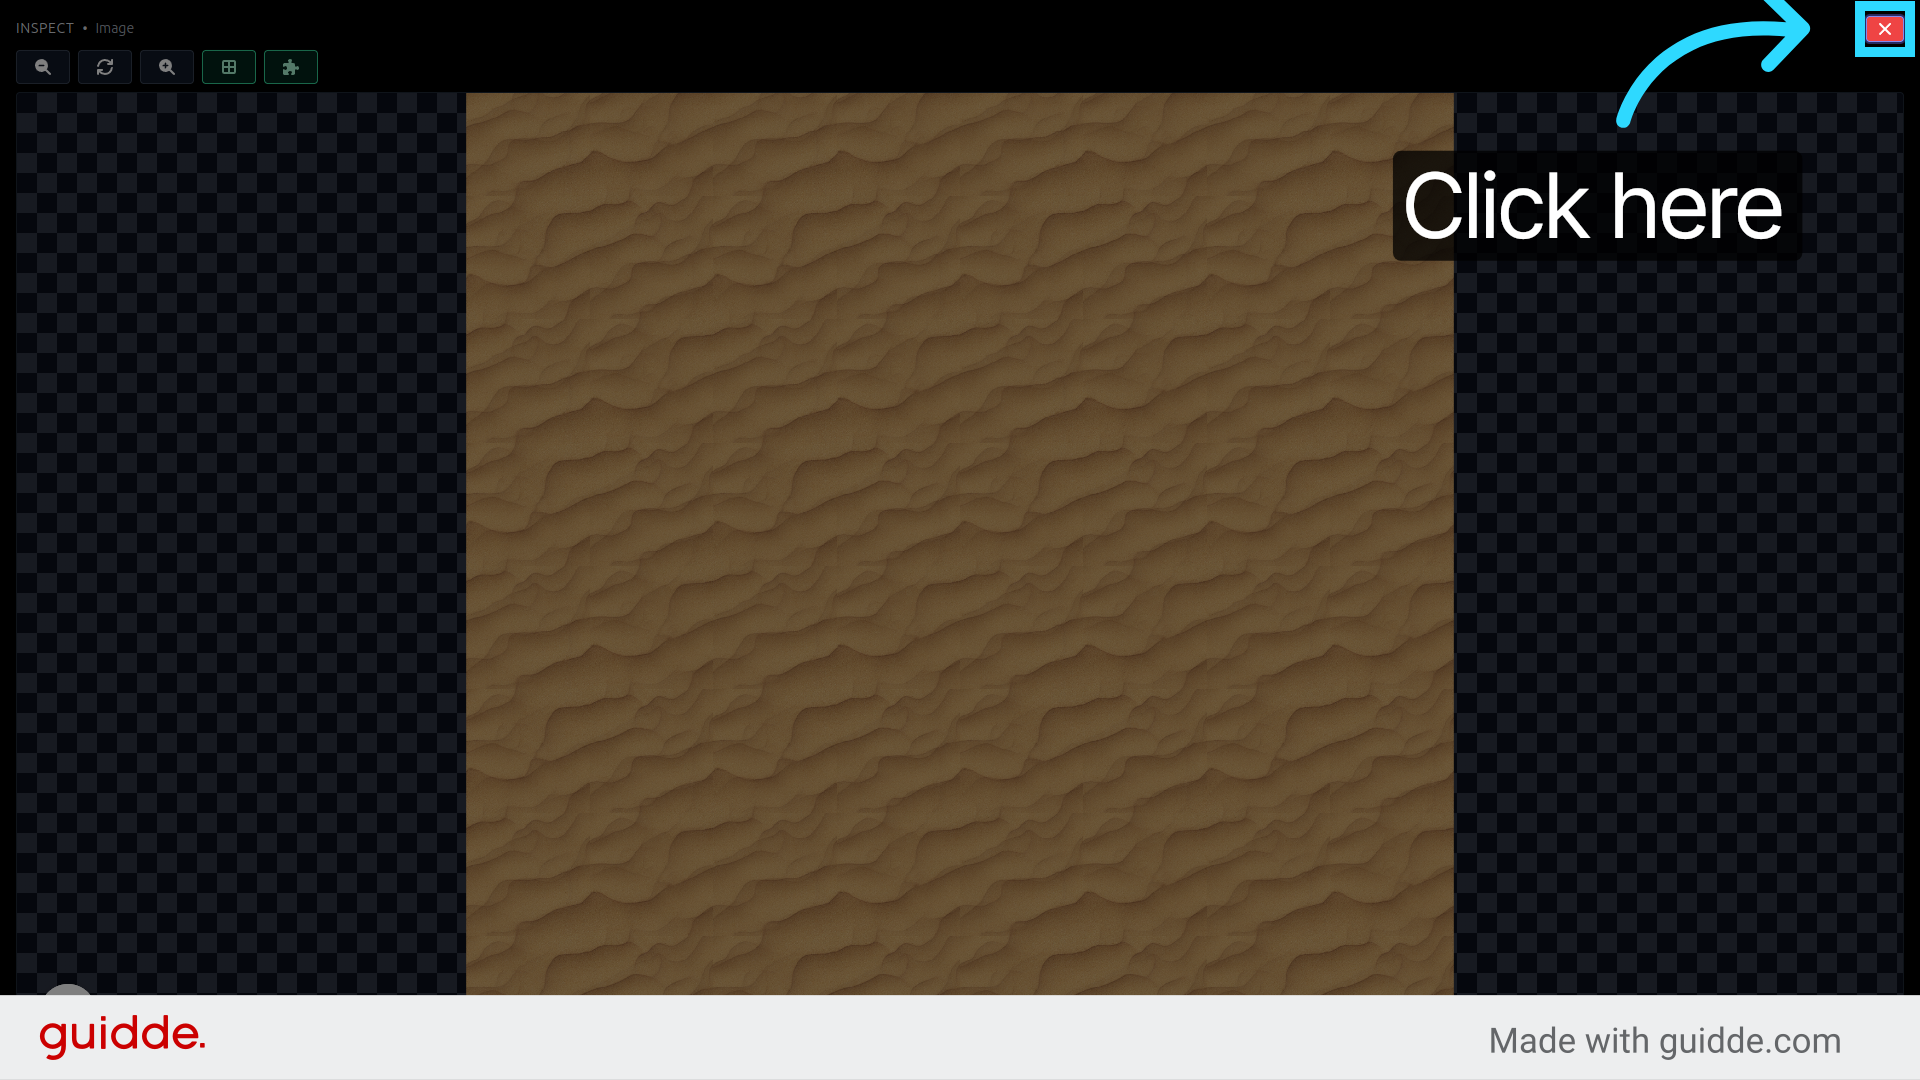
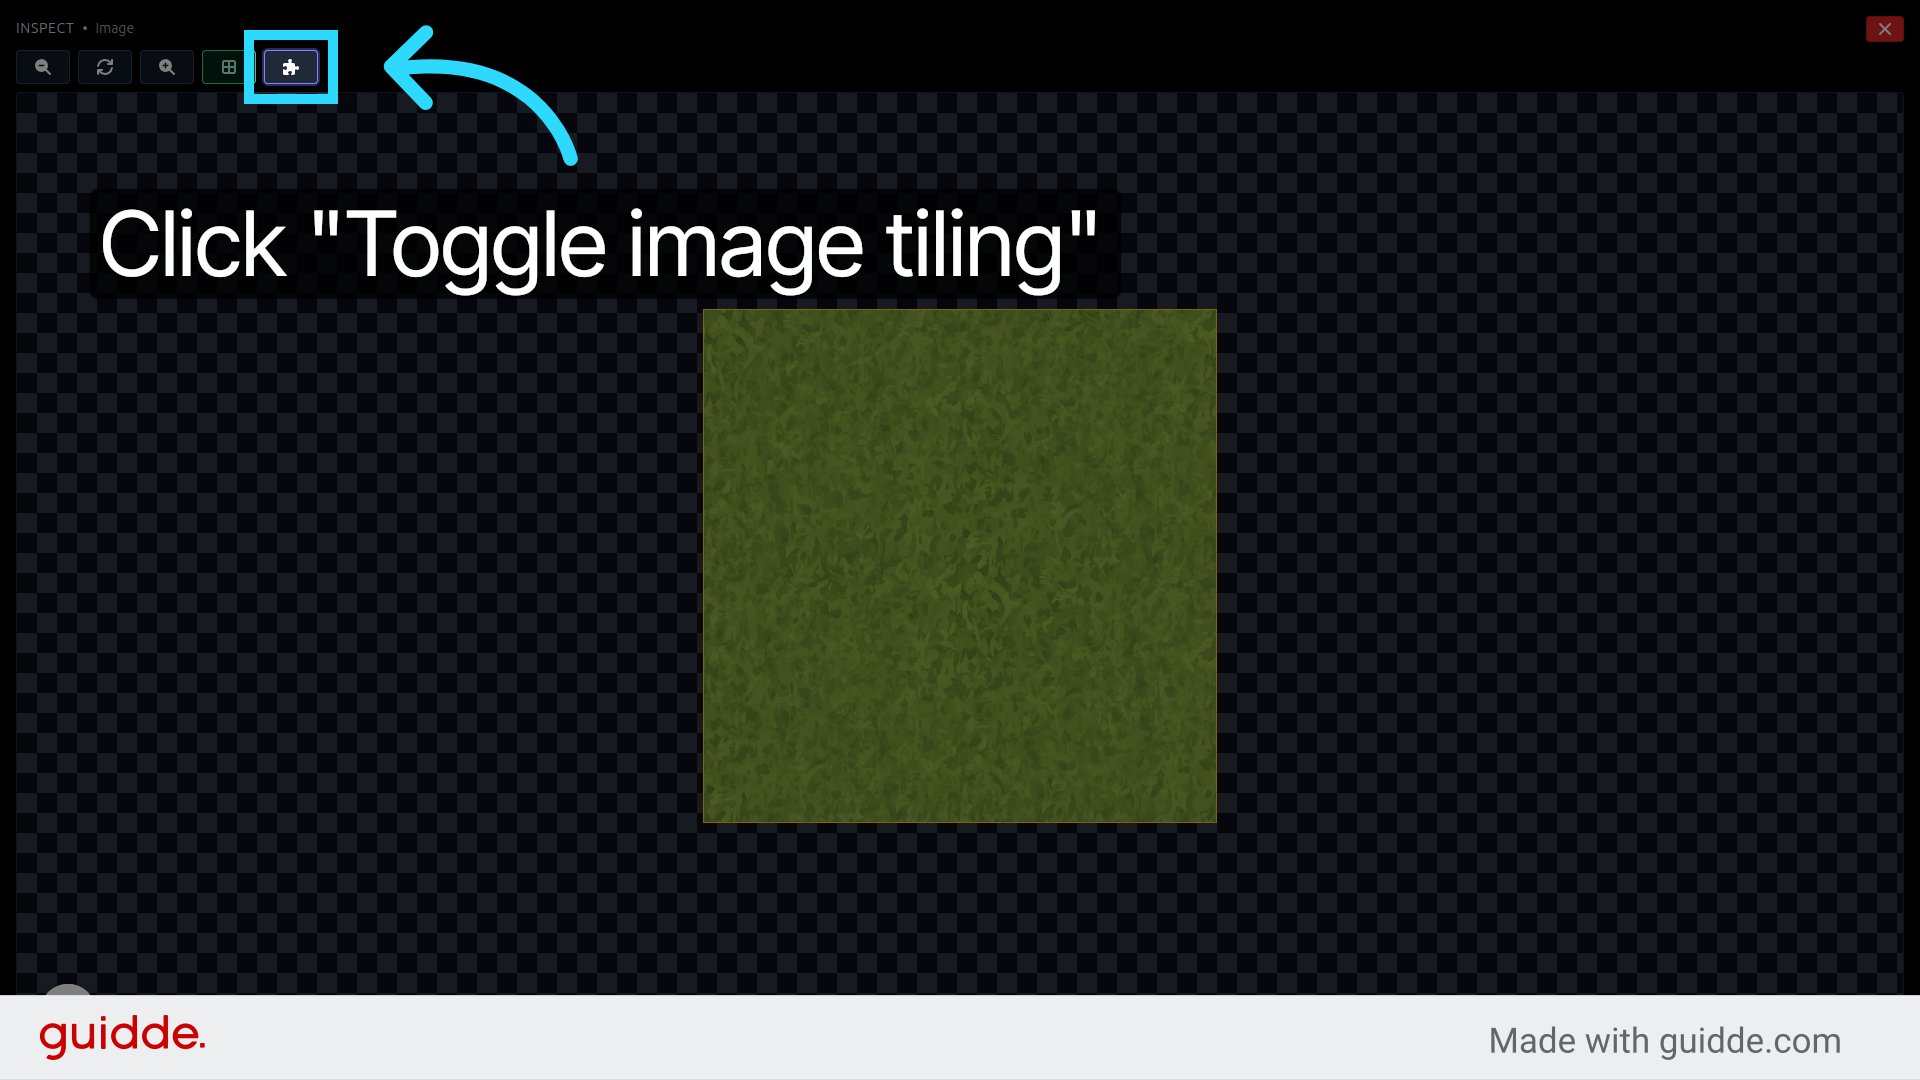
7. Preview the Tiling
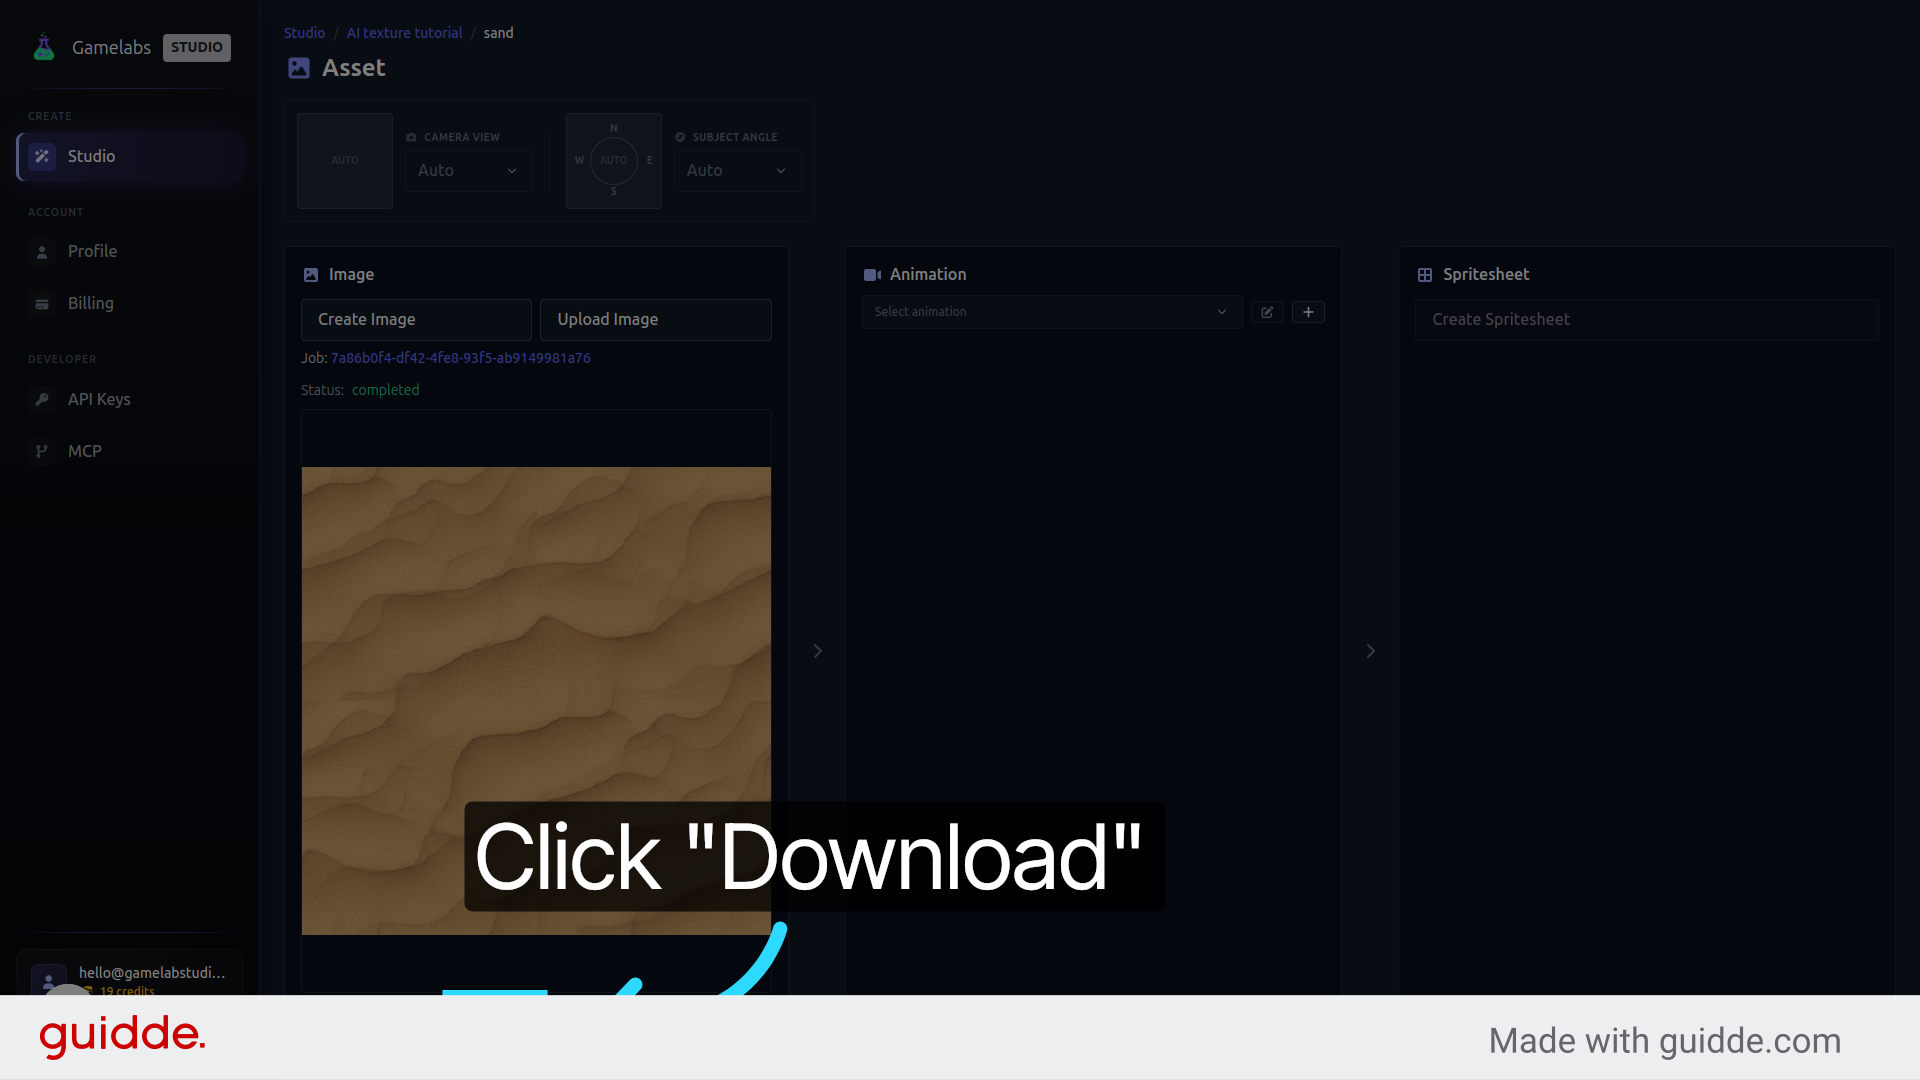
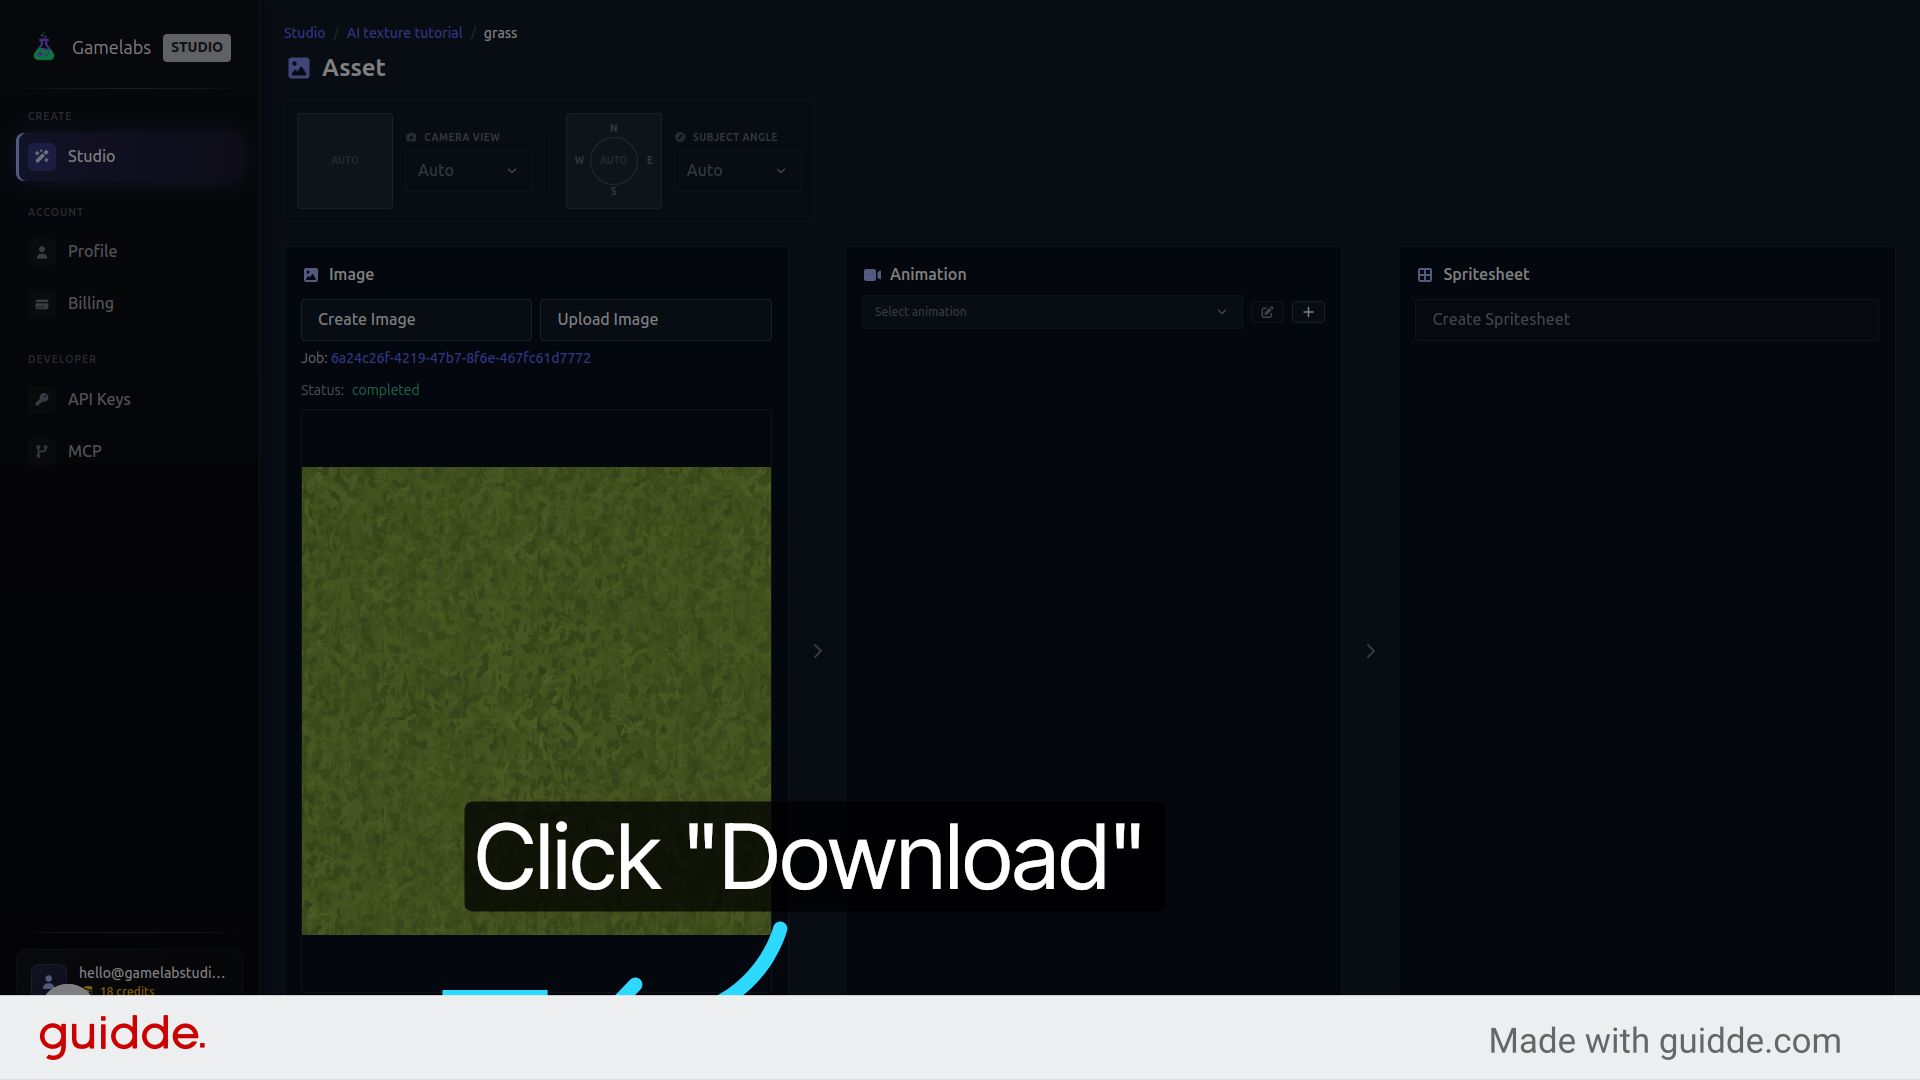
8. Download the Texture
Build Out Your Texture Library
One texture is great, but games need variety. The real payoff comes from repeating this workflow to quickly build a full library of surfaces—different stone types, dirt paths, sand, water, sci-fi plating—all within the same project.
9. Add More Assets to the Same Project
10. Preview and Download
What's Next
You now have seamless, game-ready textures that tile without visible seams. From here, try experimenting with different art styles: pixel art, painterly, photorealistic, or generate variations of the same material (light grass, dark grass, dried grass) to add visual depth to your environments. The entire workflow from prompt to download takes under two minutes per texture, so building a complete asset library is no longer the bottleneck it used to be.